X88 expeditions - Documenting and sharing overland travels, adventures, and expeditions

April 10, 2009

Skidplates and Safety - Sliders

And now the Finale.

The impetus for the whole project was my desire to have some kind of skid plate between the Fab-Fours bumper and the frame. I have been investigating taking existing products and modifying them, like these BDS skid plates:

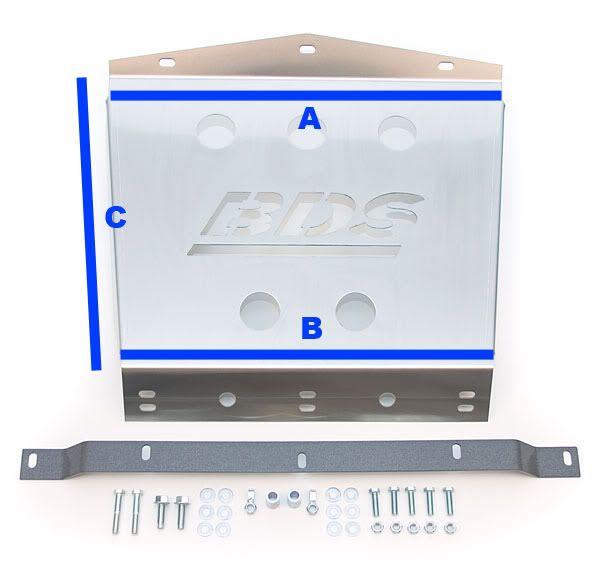
But after getting information back from various product reps and particularly the great tech support guys at BDS, I learned that most products are not built to rest the vehicle on. They are shields at best to prevent debris from hitting the lift parts that stick down below the frame.

So I started to think about alternatives when I came across this beauty at Suicide Doors:

It is their 4-link bracket ... I bought 4.

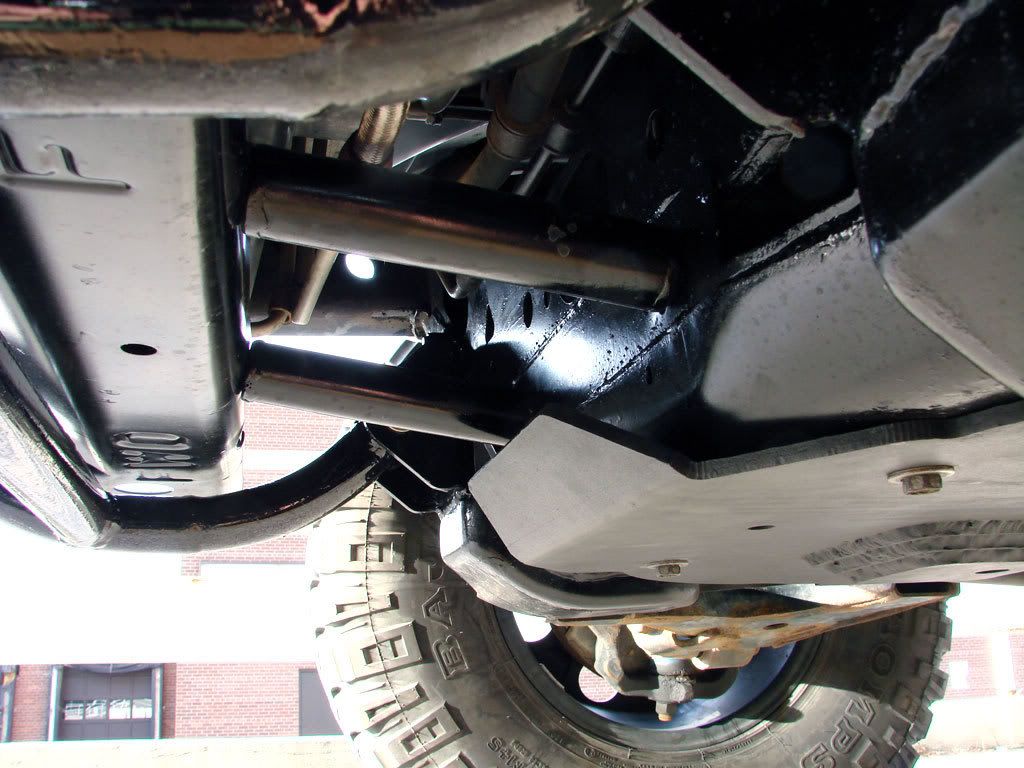
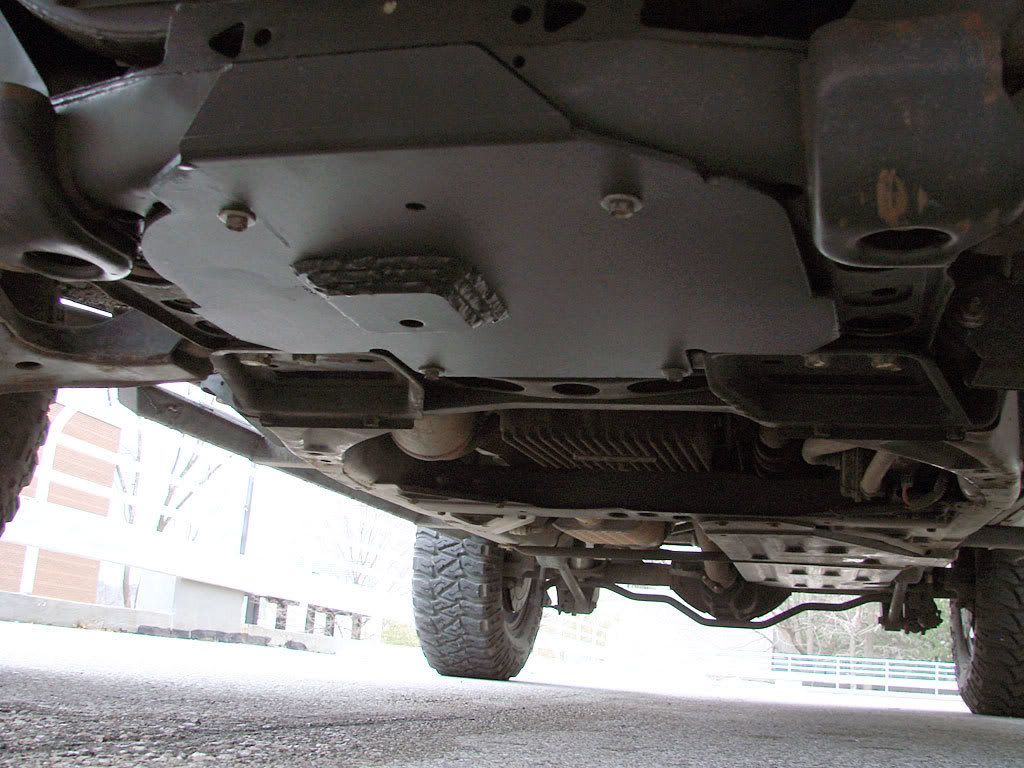
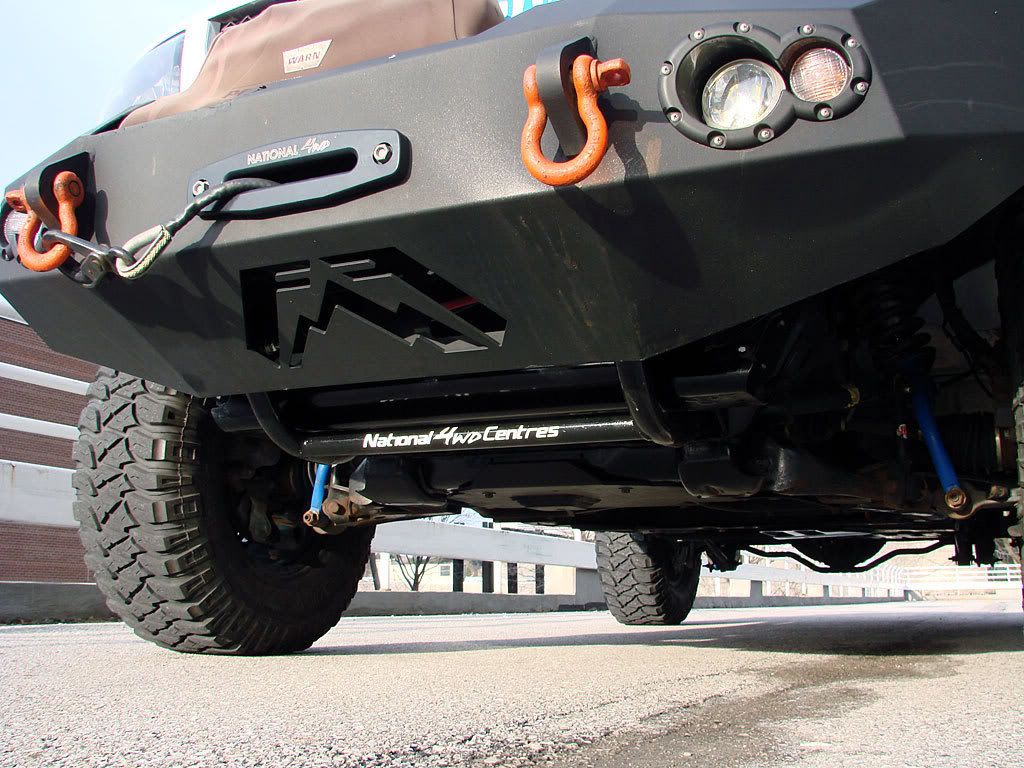
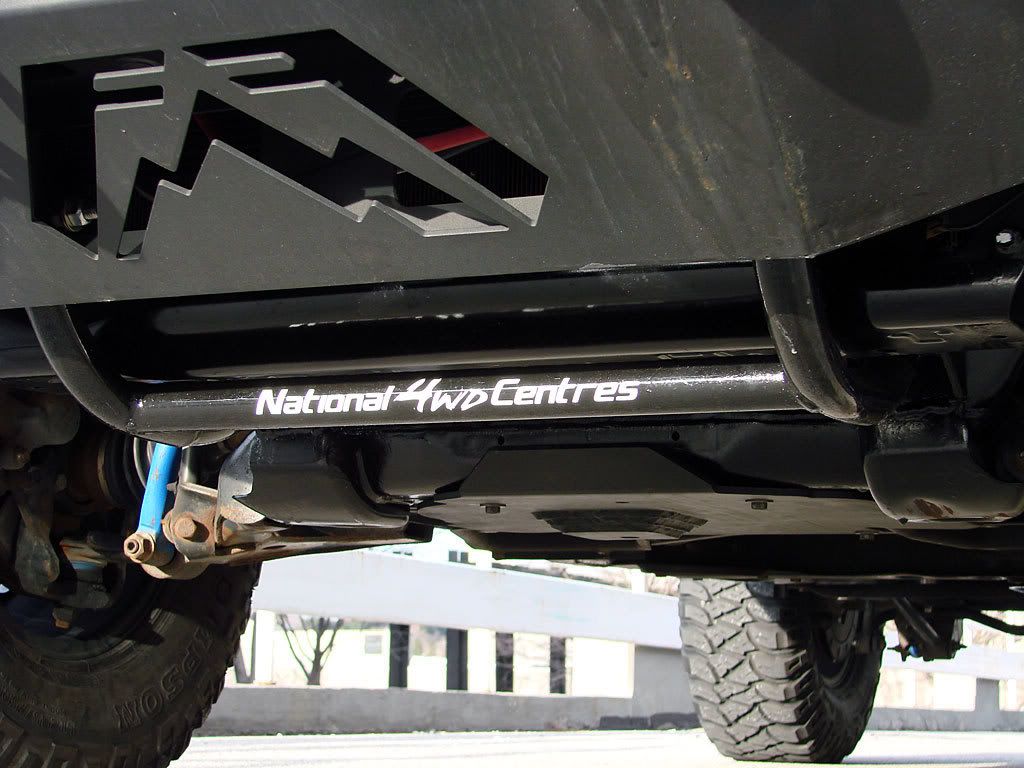
The goal was to fabricate up some "rock sliders" for the front and mount them between the bumper and the frame but make the whole assembly removable for service requirements. Here are pictures from the front.

Some side views to see how it is mounted.


And some close ups of the front and rear mounting of the 4-link brackets:

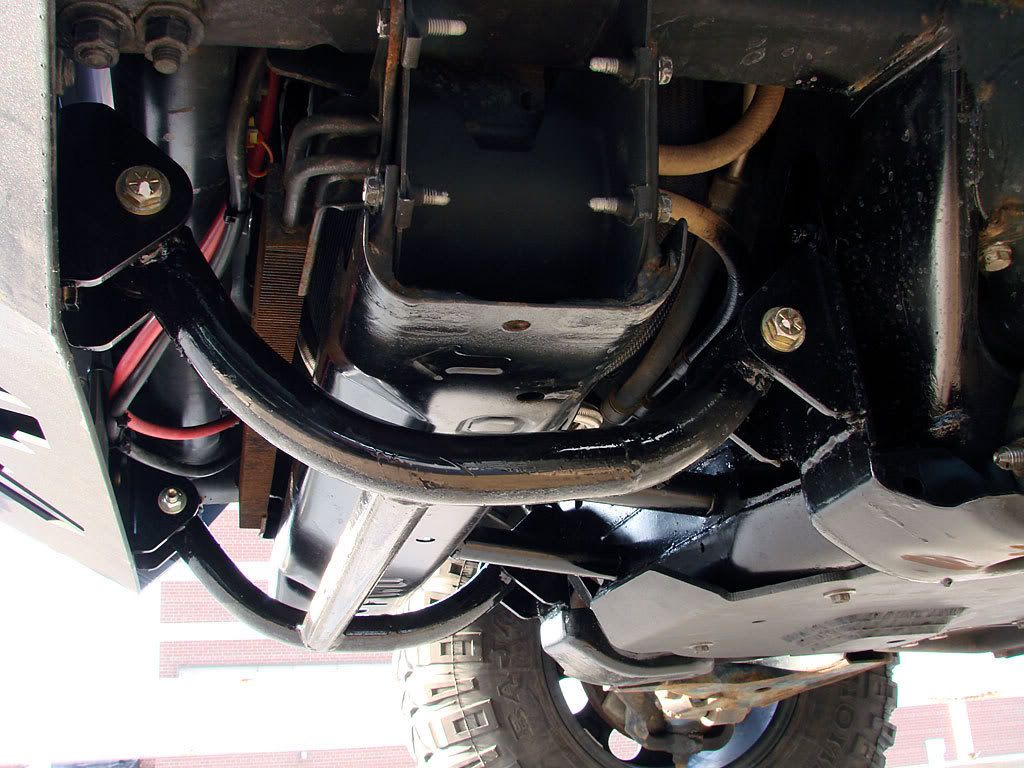
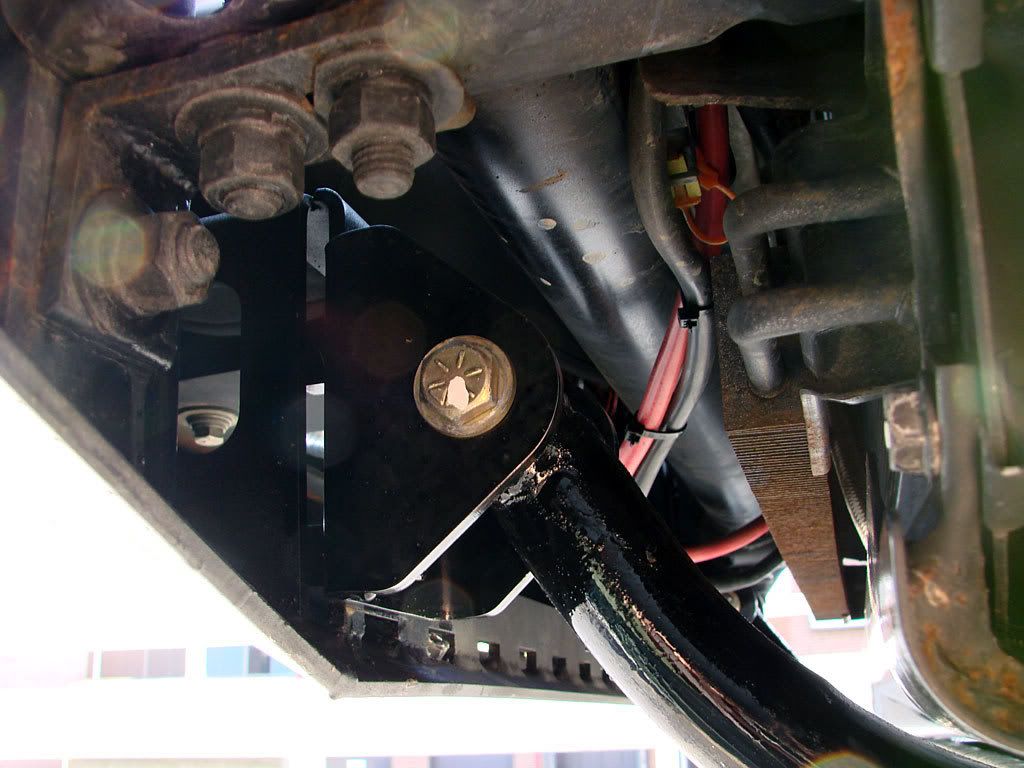
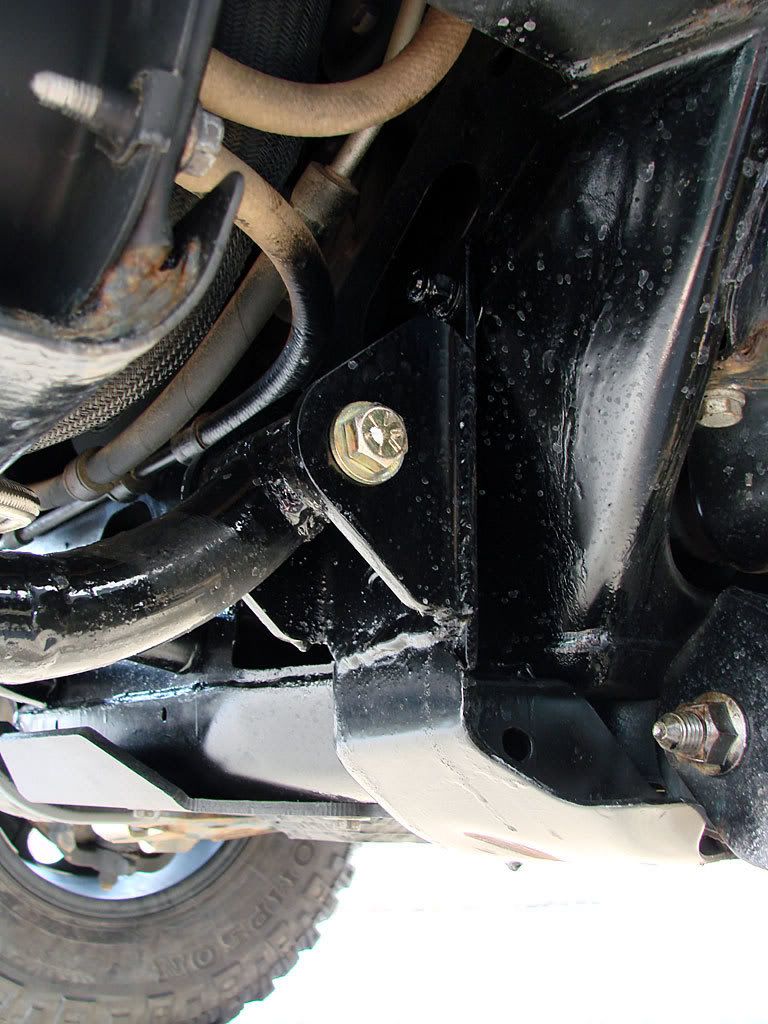
The front bracket is mounted to a vertical plate on the bumper with grade 8 bolts. The rear bracket is welded to a plate that was bolted and welded to the frame. Poly bushings were used inside the tubes at the mounting points to eliminate rattling. And all mounting bolts were grade 8 as well. Everything was coated with POR-15 for rust prevention.

Overall another great project by the pros at National 4WD.

Skidplates and Safety - Radiator Protection

As part of a bigger job (see next entry), I asked the great team at National 4WD to think about how we could reinforce the radiator bracket and stop it from being pushed back and potentially causing major damage.

The solution they came up with is very simple but very effective.

By fabbing up 2 very thick-walled tubes and attaching them with grade 8 bolts on either side, that radiator is not going anywhere. The existing holes (see previous entry) were used on the back side, while 2 holes were drilled into the metal skid plate.
It is very easy to remove as well (in case of service). The rear bolts are accessible when the oil pan skid plate is removed. The front bolts do not have to be removed as the whole assembly can come down when the factory bolts that hold the skid plate are removed.

In my opinion, an excellent solution.

Skidplates and Safety - Bolt-Ons

As with all other off-road TrailVoys, I have been trying to beef up the undercarriage to handle the bumping and grinding that happens on the trails.

The "underbody shield package" that we can get definitely leaves a lot to be desired. For those who have not followed here are the problems:

  • Radiator shield is metal, but entire radiator mount can be pushed back under certain conditions (snow, deep water, etc.). When this happens the fan assembly is pushed back as well and catastrophic engine failure can occur!

  • Oil pan shield is composite (plastic) but woefully thin and easily damaged

  • Gas tank shield is also composite, and even though fairly thick and sturdy towards the rear (1/4" thick), the front is thin and weak

So in general, everything can stand some improvement!

Luckily we have people in the TrailVoy community who are willing to provide excellent solutions.

My first step was to get the excellent aluminum oil pan skid plate from BartonMD. See here.

After ordering I received it promptly and in excellent condition. I took it to my powder-coater and got it done in textured black, similar to the Fab-Fours bumper.

Take note of the circular and triangle holes above the plate in the frame cross-member. These are used to insert J-clips for attaching something with bolts - like the factory shields attach. What these in particular are used for, I have no idea.
Second, I had the curious metal transfer case shield left over from a while ago. As soon as the weather got a bit warmer I wanted to see if I could mount it over the plastic gas tank shield which takes its place.

By using some washers in between the plate and frame on the side hole, I was able to get it attached very firmly.

This really reinforces the weak plastic underneath. I'm going to use a rubber mallet and bend the front edge up a little.
My next planned project will be to get some thick aluminum diamond plate water-jet cut to match the rest of the gas shield. It will be 2 pieces, to the front and rear of the cross bar and they will be mounted to the underside of the gas shield using J-clips and bolts.

My hope is that they take the brunt of any hits and prevent the plastic from cracking or shattering. BartonMD attested to the good strength of the gas shield where it is thicker by accidentally jacking up his vehicle on the shield instead of the frame.