X88 expeditions - Documenting and sharing overland travels, adventures, and expeditions

October 21, 2006

33 Inch Tires and Lift - Part III

And finally, you can see the results of the metal cutting. The whole area was sprayed with undercoating to avoid rust. One thing to notice is the soft vertical meterial behind the cut area. This is some type of insulation which is well protected when the wheel well is not modified. Therefore to try and recover some of that protection, I cut some mud flaps to shape and attached them to the remaining wheel well material. The rear is wedged on a angle into the space. I did this on the front as well to protect the fog light area where I installed some PIAA lights.
So here is what the whole thing looks like now. I am VERY pleased with the outcome. I have had no vertical rubbing yet, even with some offroad (albeit fairly tame) testing. I do get rubbing in two areas still (refer to the yellow circles), usually in parking lots when doing sharper turns. The front is plastic but so far nothing has prompted me to do any more cutting. The rear is metal and visible, so I wouldn't be doing any work on it myself. I have some other body work to fix in the spring so I may ask the body shop what they could do at the corners to get rid of some material.

33 Inch Tires and Lift - Part II

The first step was to call up Sam's Offroad and see if they could get custom adapters made that bolt up to the stock 6x5 bolt patern but provide a 6x5.5 bolt pattern for the wheels. They said absolutely so I went for it. Note for anyone getting adapters: anything less than 1.5 inches thick (which I was considering as the wheels would also give me some clearance) will require grinding down the stock lug bolts. I didn't really want to do that so I stuck with the 1.5 thickness. Here's a picture of the adapters after being powder coated yellow. So that takes care of the suspension clearance.
The next step was to get the BDS 2" strut and coil mount lift kit. I believe that this is essential for 33" tires as I am sure there would be significant rubbing on the upper part of the wheel well on larger size bumps or dips.

I then got the tires mounted and balanced. At the same time I did a test fit on the truck. The rear was fine, however, the front had issues as I suspected so I drew some guides for cutting. The yellow lines are approximately where I ended up cutting at the end. The reason for this was that with the first cuts, the tires would still hit the bottom of both linings when turning in forward and reverse. Notice the partially removed bolt at the rear. This holds the side molding into place and was completely in the way of the tires when turning.

My first attempt to avoid that rear bolt was to remove it, cut the molding at the bottom so that the top part can be bent backwards somewhat, and hammer the metal tab as far back as it can go. I then put the bolt back to hold the molding in place but with the whole thing bent back on an angle. Ultimately this was not enough and I had to cut the metal tab (and a bit more) away completely. The yellow lines are where the cutting had to be done, both on the horizontal and vertical sheet metal.

On the front side, I noticed that the plastic inside the yellow circle was rubbing quite often. Problem is that this piece has a plastic fastener that holds three pieces of plastic together: the front bumper, the under-bumper valence, and an attachment that comes down from the sheet metal that makes that whole corner a lot more stiff. So what I did is remove the fastener, cut the end of the bumper and valence off, drill a new whole through both, and attach all three pieces back together with the fastener. In effect moving the fastener back about an inch. Doing this keeps the whole corner as stiff as it was before.

33 Inch Tires and Lift - Part I

I bought my Trailblazer back in 2002 and did not have a clear plan for modifications at the get-go. Two reasons: I always lease my vehicles, and back then there WERE NO modifications for our rides. It took me about 5 minutes to forget about the lease thing as I knew right away that I was going to buy the Trailblazer out at the end of the lease. Then, in the summer of 02 some mods started to appear. Air filter kits, JET chips, etc.

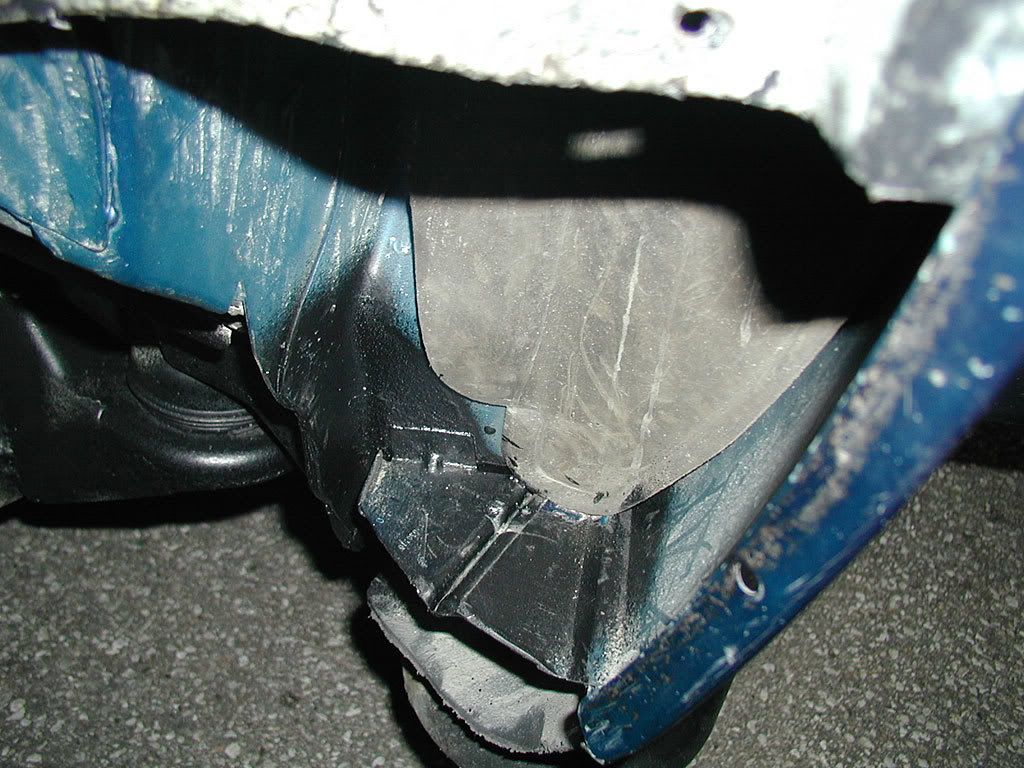
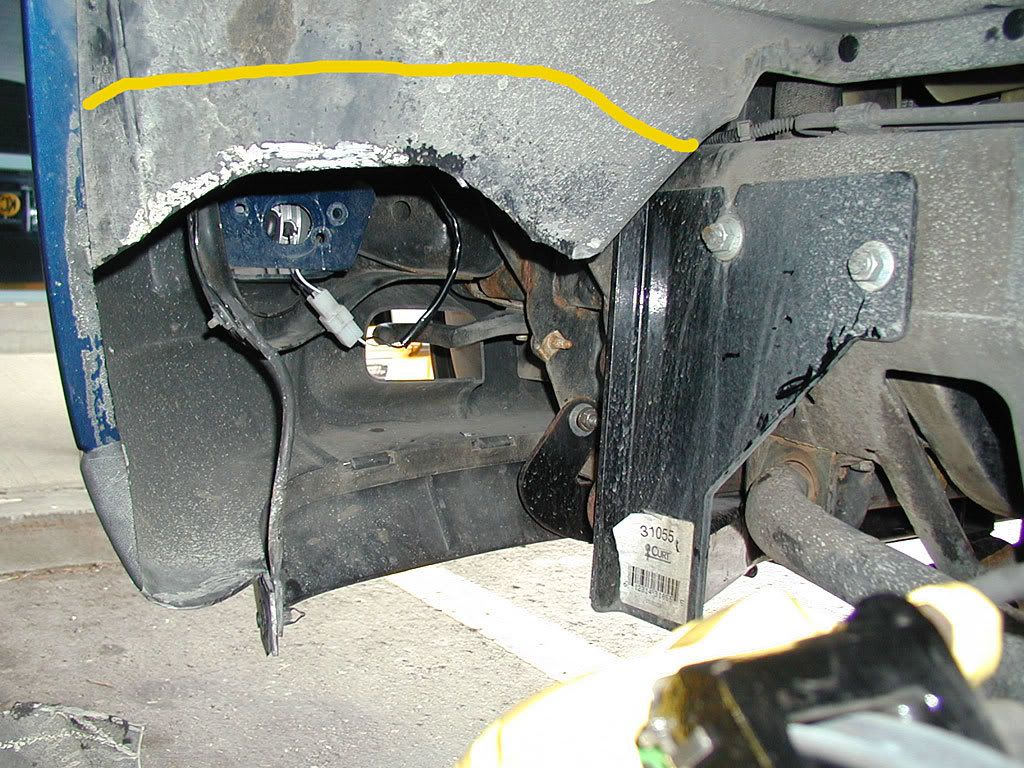
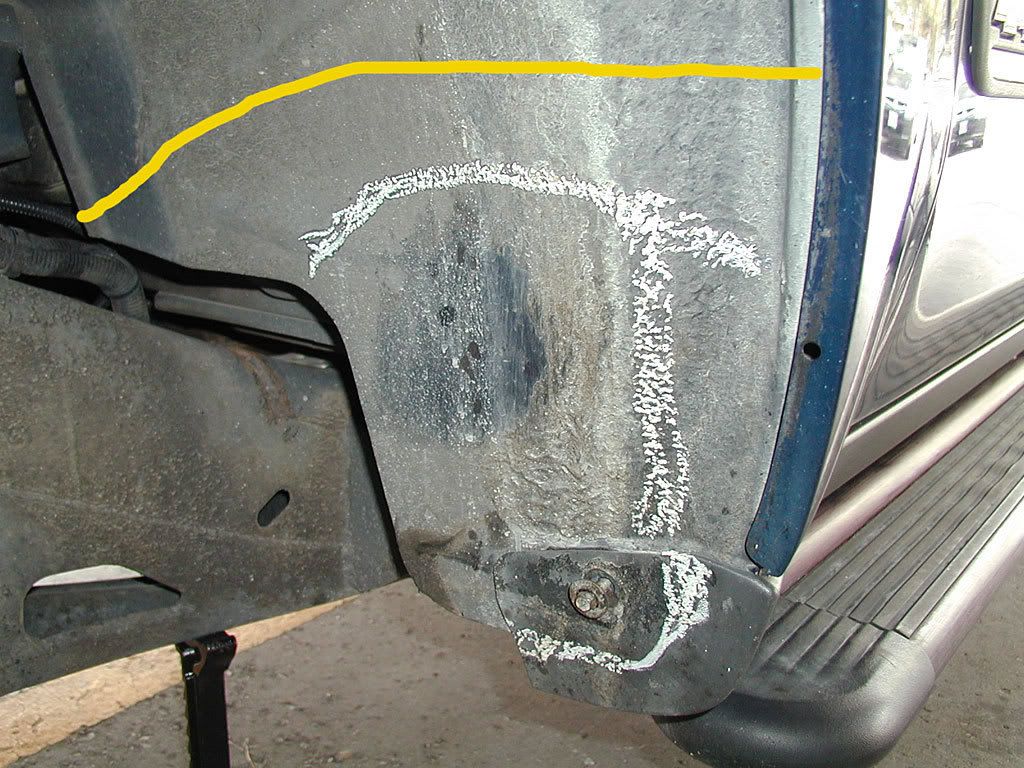
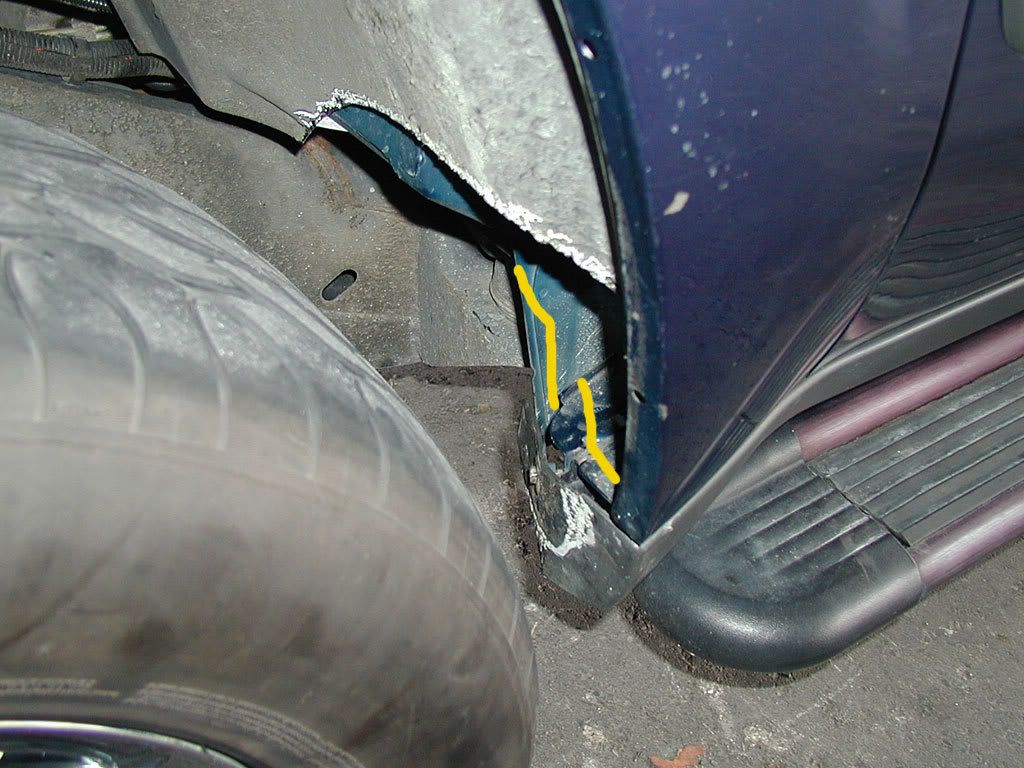
The BIG problem was the wheel (and suspension set up). GM for some reason decided to put a front wheel drive type set up on our trucks. This means a VERY HIGH offset for our wheels. Even more strange, they decided to use a practically non-existant bolt pattern of 6x5 for the wheels. And to top it all off, the front suspension set up has a protruding "knuckle" which limits even upping the tire size on the stock wheels! Almost makes me believe they did all this on purpose to stop us from improving the somewhat lame stock tire set up.

My specs were 16x7 wheels with a +50 offset. Tires were 245/70R16 with an approximate diameter of 29.5 inches. Needless to say there was nothing out there in terms of aftemarket wheels. As a small batch of aluminum wheels started to appear in early 03, I started to think about how I was going to outfit the Trailblazer in my usual summer/winter fashion. Note: up here in Toronto, SALT is used heavily in the winter so keeping any kind of aluminum or chrome wheels on all winter is basically not a good idea.

So in 2003, I was looking for tires I wanted to use on my stock wheels for winter driving and larger size polished or chrome wheels and performance tires for summer driving. The winter tires posed a problem as I really wanted to go with a wider tire than stock but that suspension hardware puts a big restriction on that.

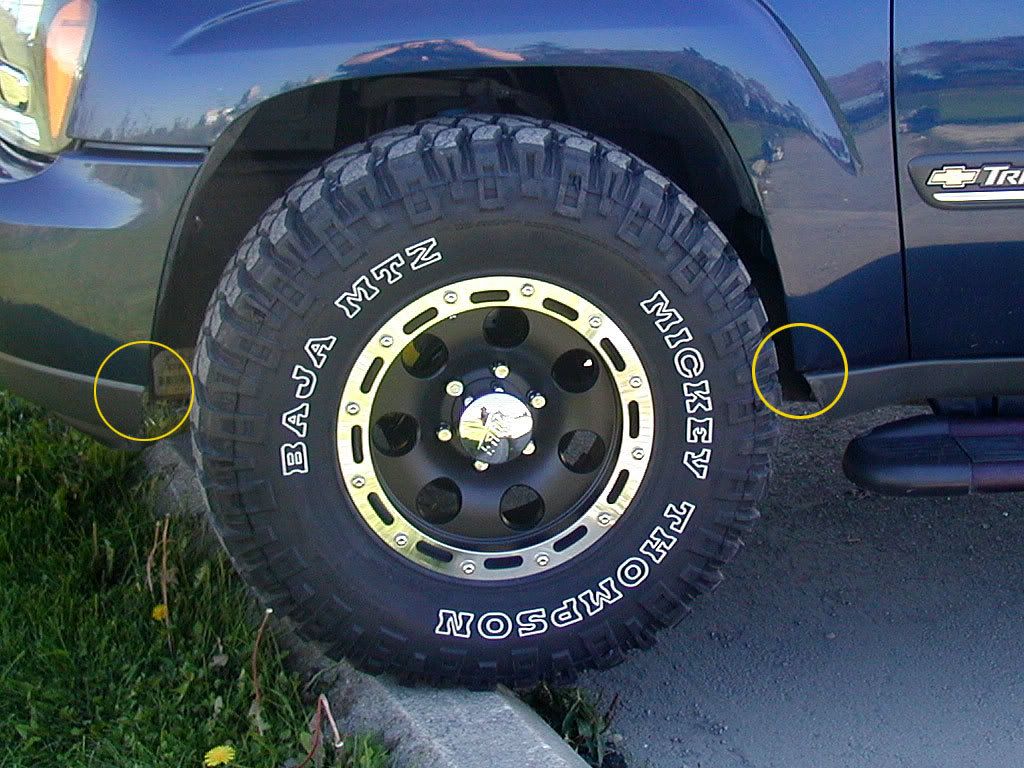
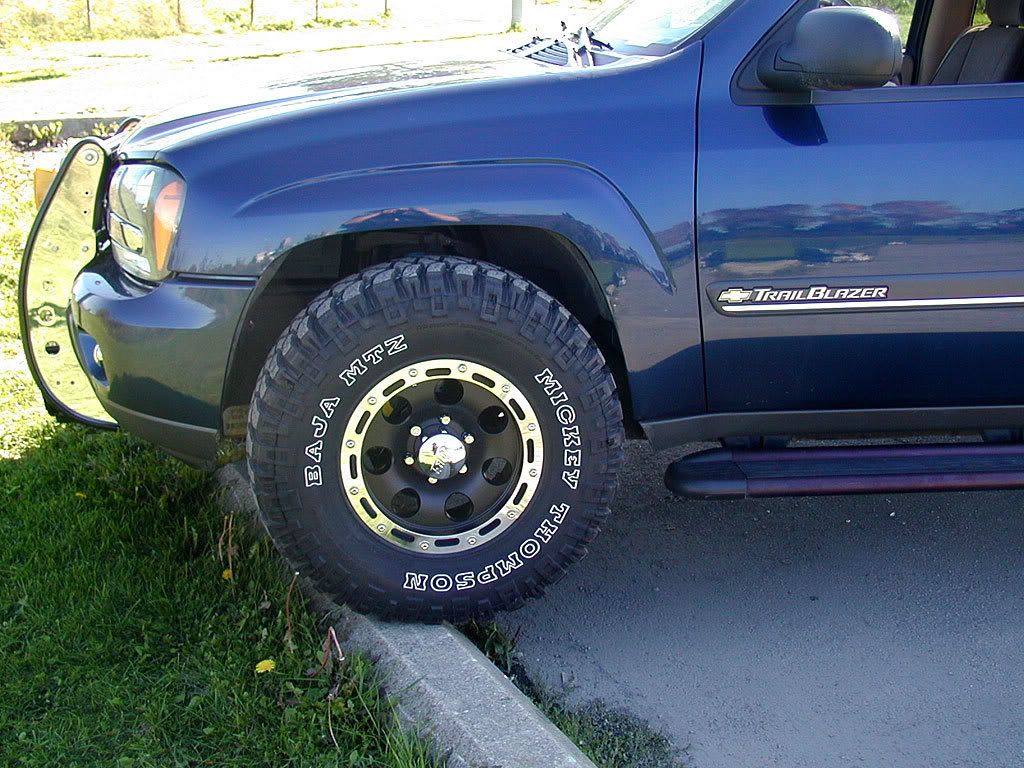
This is when I started to look into spacers and adapters. I read many articles and opinions, talked to local people, and ended up deciding that I was comfortable with PROPER adapters. Specifically, NOT the kind that use the stock lug bolts and only push the wheel out, but this kind. They bolt up to the stock lug bolts on our axles and provide new and stronger bolts for the wheels to bolt up to. The reason I ordered from Sam's Offroad was that they were the only shop back then (that I could find) that would get adapters made in our bolt pattern and would ship to Canada. There is much more selection these days ...

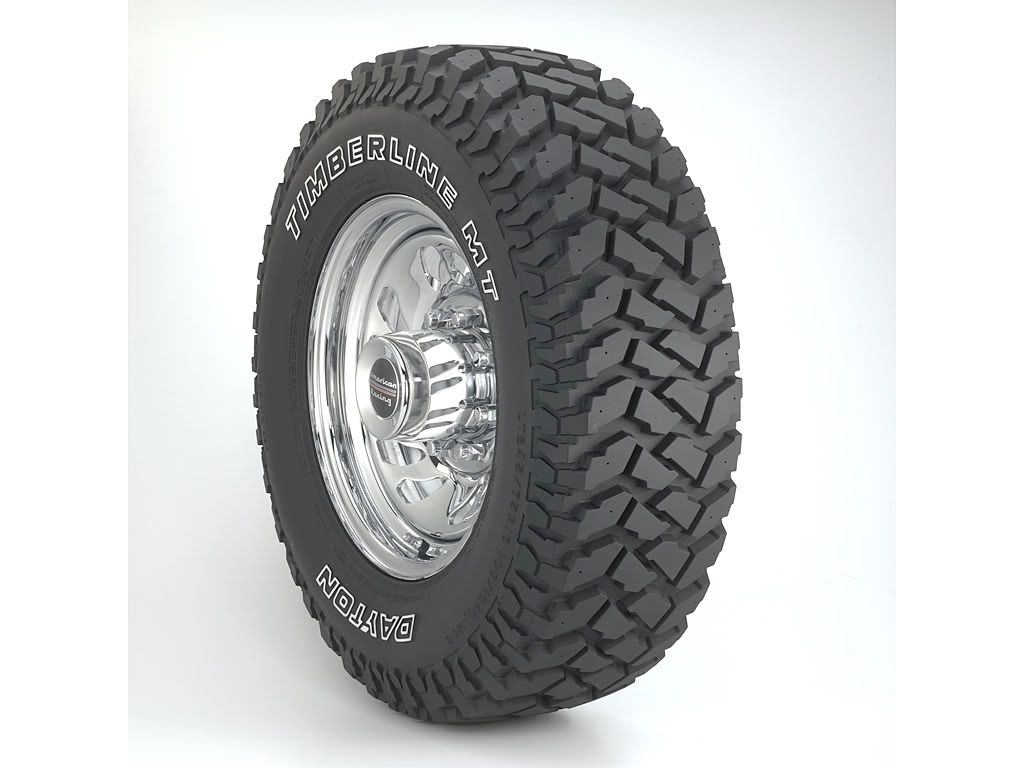
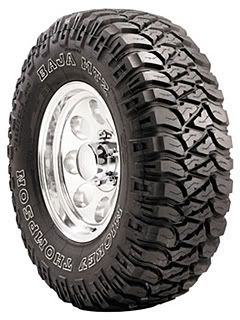
My original spacers were 1.5 inches thick, had 6x5 bolt patterns, and a center bore of 3 inches. With that extra 1.5 inches, I could get the tires I wanted for winter: Dayton Timberline 265/75R16. These would fit onto the stock 16x7 wheels. They are listed as 32" in diameter so I was a bit worried at the time about clearance.

However, after three winters, I can say that I have had no significant clearance problems. No left/right wheel well contact, only some rubbing on the top of the wheel well on major compressions.

So when I started to get into modifications again this past summer, I started to look for a third set of wheels/tires that would be more suited to offroad adventures. This wheel and tire combination really cought my eye:

Of all the wheels I looked at, I liked the simulated bead lock on this one the best. Its an Eagle Alloy Series 1378, 16x8.0 with a +5 offset. I also like that its black painted with only polished accents. Problem was that it only came in a 6 x 5.5 bolt pattern. As for the tire, I wanted to go very aggressive and of course, there was no reason to stick to a size I already had so I set my sights on a 33" tire as I knew I was also going to get a 2" lift. Still, front clearance was definitely going to be a problem.