The first step was to call up Sam's Offroad and see if they could get custom adapters made that bolt up to the stock 6x5 bolt patern but provide a 6x5.5 bolt pattern for the wheels. They said absolutely so I went for it. Note for anyone getting adapters: anything less than 1.5 inches thick (which I was considering as the wheels would also give me some clearance) will require grinding down the stock lug bolts. I didn't really want to do that so I stuck with the 1.5 thickness. Here's a picture of the adapters after being powder coated yellow. So that takes care of the suspension clearance.

The next step was to get the BDS 2" strut and coil mount lift kit. I believe that this is essential for 33" tires as I am sure there would be significant rubbing on the upper part of the wheel well on larger size bumps or dips.
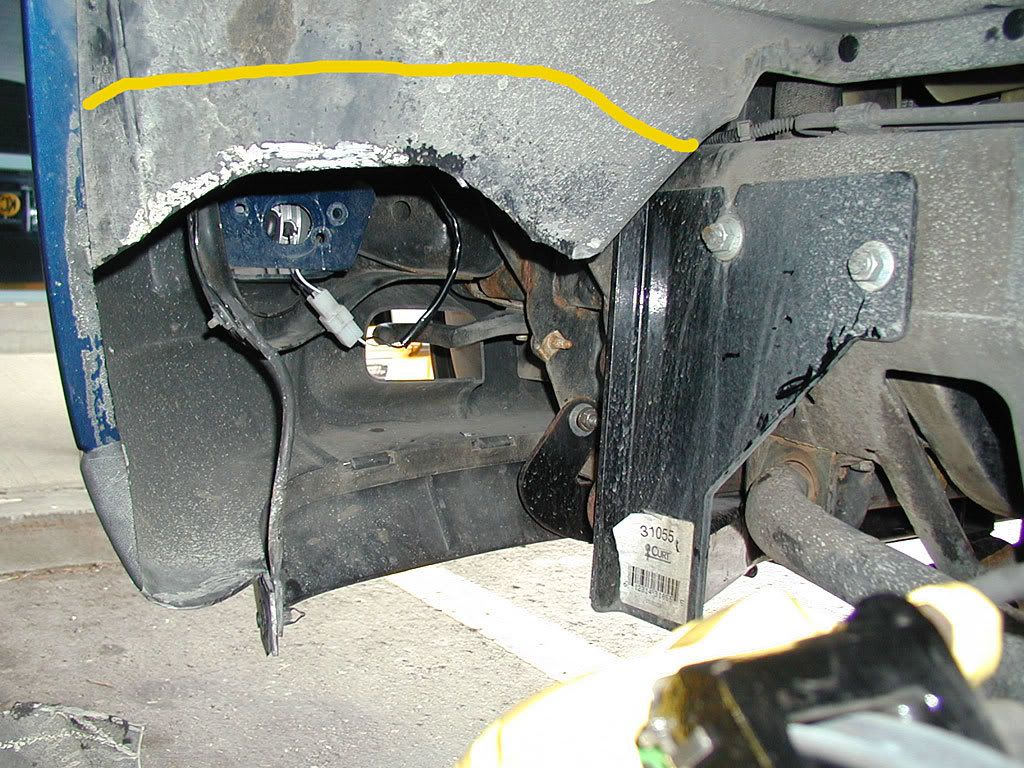
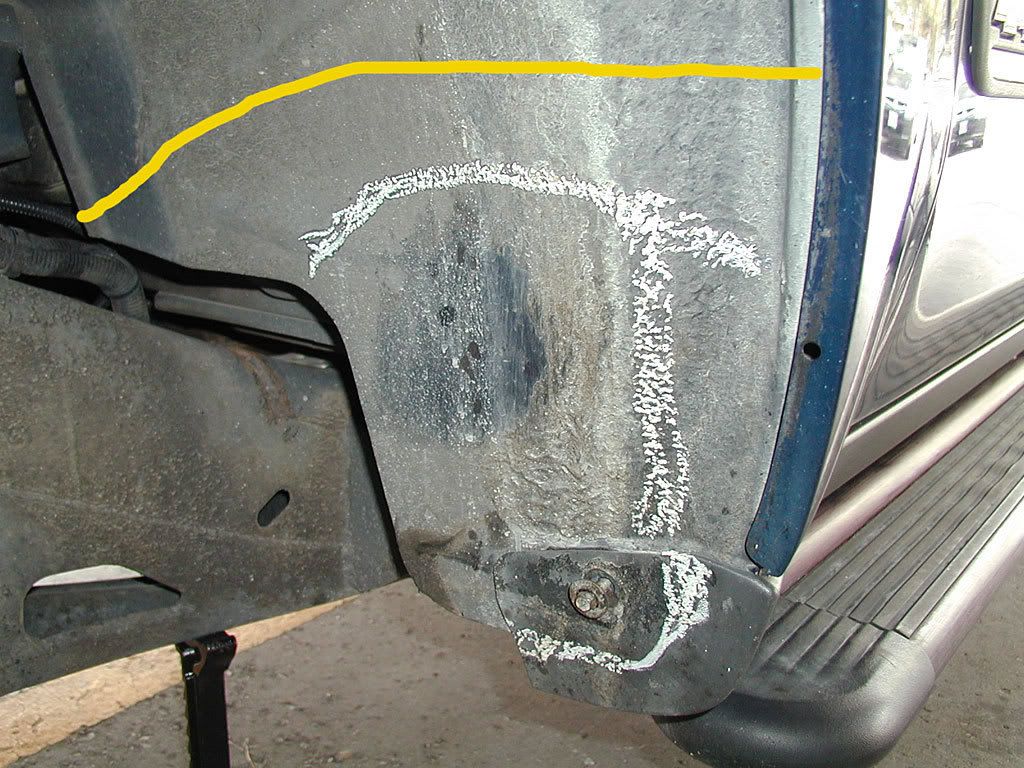
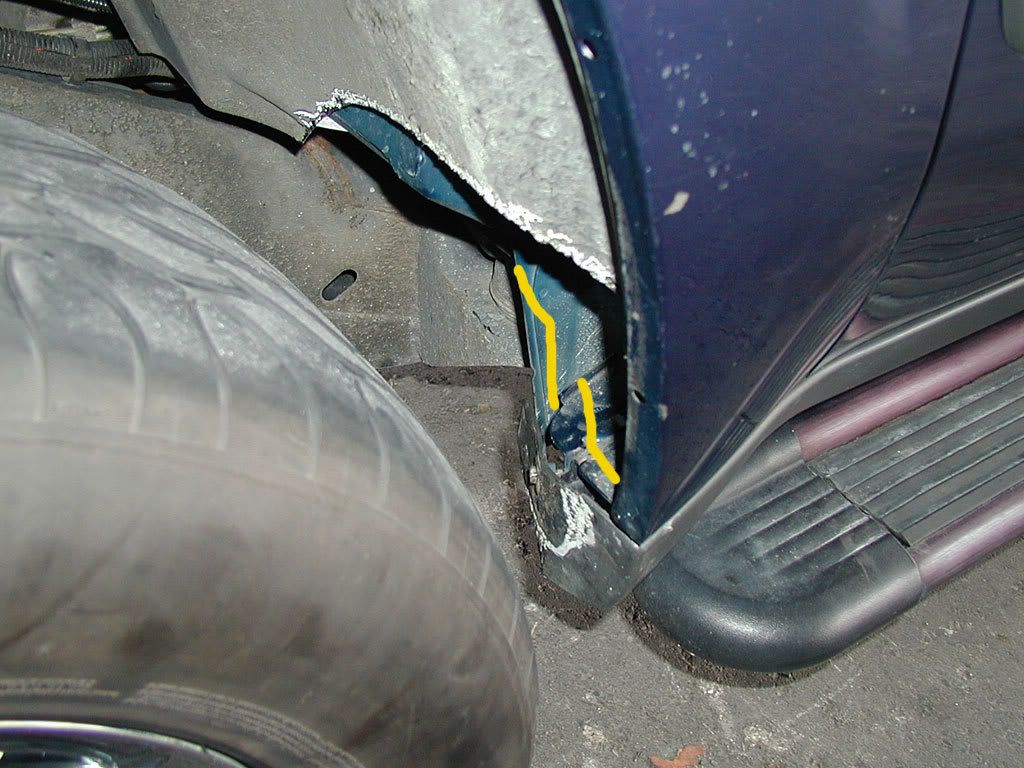
I then got the tires mounted and balanced. At the same time I did a test fit on the truck. The rear was fine, however, the front had issues as I suspected so I drew some guides for cutting. The yellow lines are approximately where I ended up cutting at the end. The reason for this was that with the first cuts, the tires would still hit the bottom of both linings when turning in forward and reverse. Notice the partially removed bolt at the rear. This holds the side molding into place and was completely in the way of the tires when turning.
My first attempt to avoid that rear bolt was to remove it, cut the molding at the bottom so that the top part can be bent backwards somewhat, and hammer the metal tab as far back as it can go. I then put the bolt back to hold the molding in place but with the whole thing bent back on an angle. Ultimately this was not enough and I had to cut the metal tab (and a bit more) away completely. The yellow lines are where the cutting had to be done, both on the horizontal and vertical sheet metal.
On the front side, I noticed that the plastic inside the yellow circle was rubbing quite often. Problem is that this piece has a plastic fastener that holds three pieces of plastic together: the front bumper, the under-bumper valence, and an attachment that comes down from the sheet metal that makes that whole corner a lot more stiff. So what I did is remove the fastener, cut the end of the bumper and valence off, drill a new whole through both, and attach all three pieces back together with the fastener. In effect moving the fastener back about an inch. Doing this keeps the whole corner as stiff as it was before.


No comments:
Post a Comment