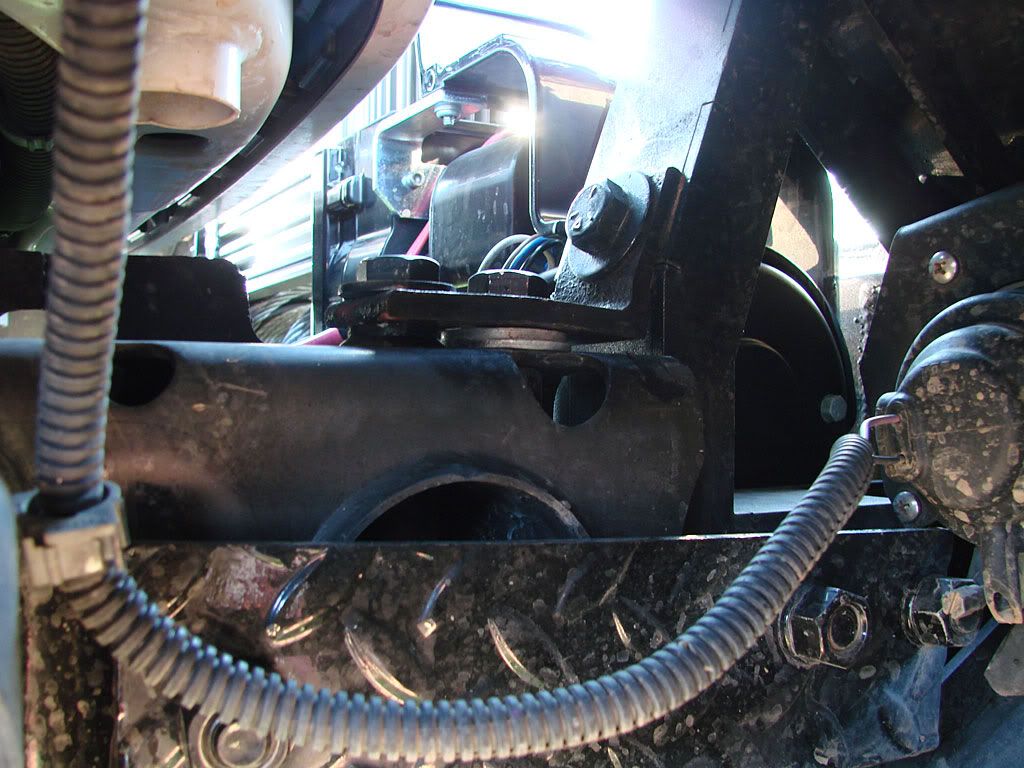
Mounting the bumper is where Ryan at National4WD got his top marks. The stock mounting brackets were ditched and custom pieces were used. The rear of the bumper actually sits (touches) right up against the front of the Trailblazer's frame rails. Each side of the bumper is mounted with 8 grade 5 bolts, 4 on the bumper and 4 on the frame rails. One of the bolts on the frame rails uses the stock "through-frame" hole and extends vertically all the way from the top of the frame rail to the bottom. The red lines show the bolt locations. The three additional bolts are used with the supporting steel plate and are perpendicular to the other bolts.
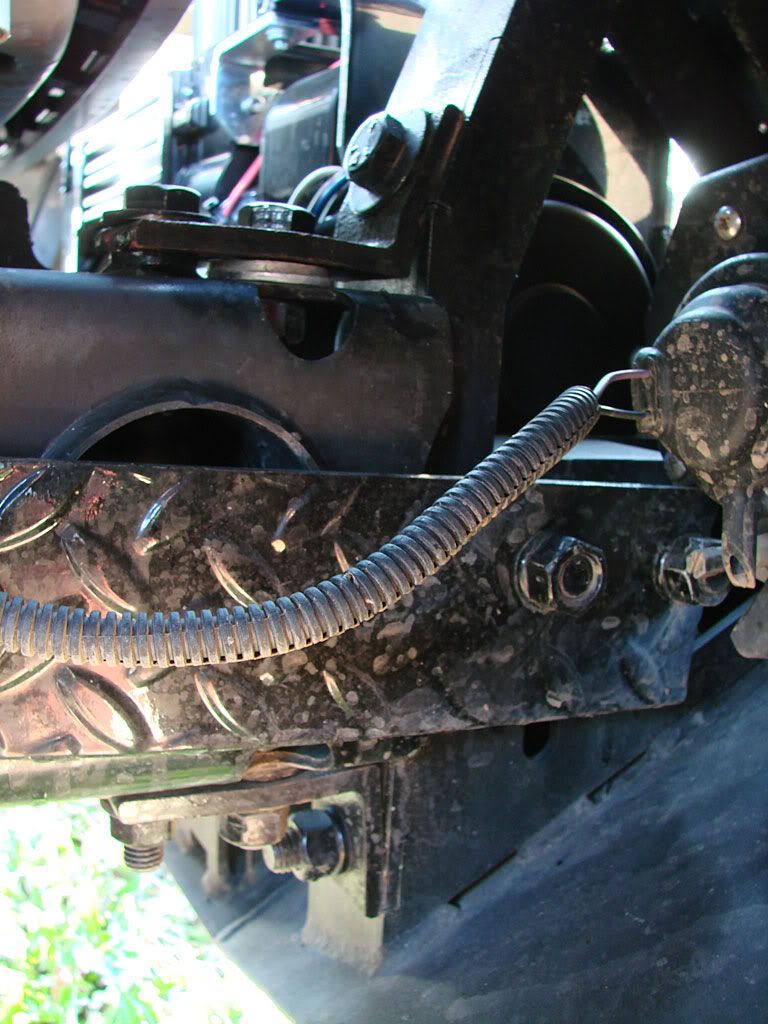
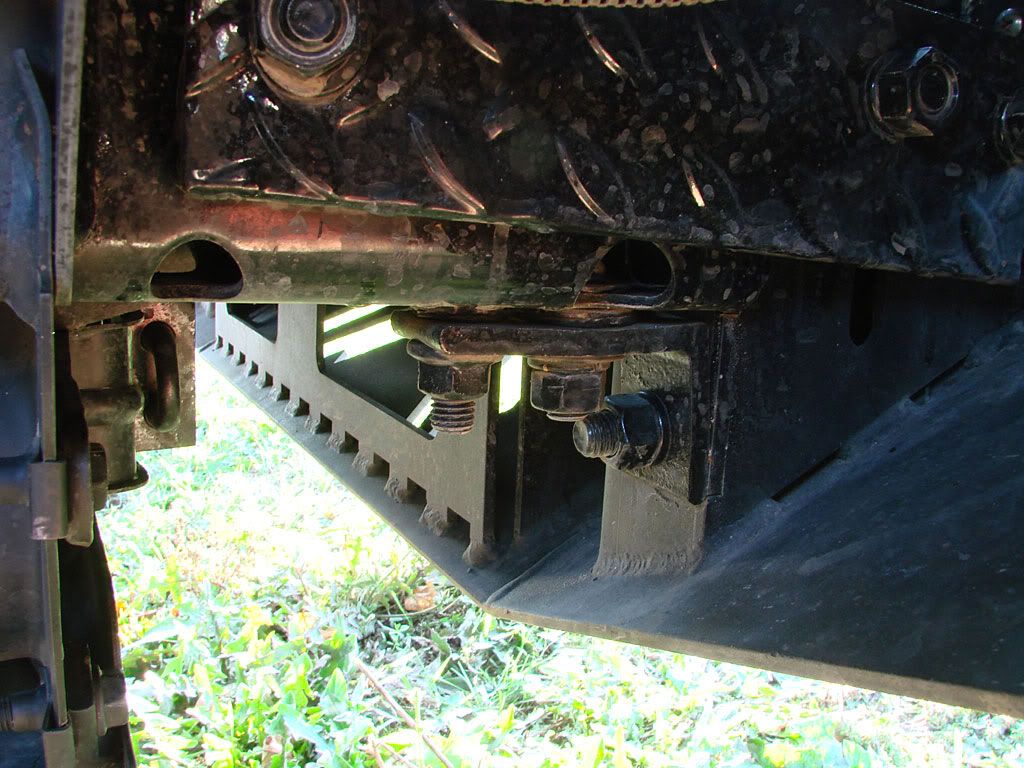
Here are some additional shots of the upper and lower mounting:
All this was tested out at the shop with some pulls on the Winch. I haven't had any "real world" tests though as I have yet to get stuck. Overall I am extremely pleased with the products and the fabrication work. A couple of small items to point out. The bumper did not wrap around the sides as much as I had hoped, so there is a bit of gap between the bumper and the body. Specifically around the area where the plastic bumper attached to a metal tab (straight down from the leading edge of the fender). One option was to cut this tab off but I decided to leave it on and to paint it black with anti-rust paint. Now it just blends into the rest of the black pieces. There is also a bit of gap between the very bottom-back of the bumper and the metal radiator skid plate. Possibly large enough to wedge a large rock in between which could cause a problem. Some kind of skid plate tying the two together may be somwhere down the road.


No comments:
Post a Comment