So I renewed my efforts to research a custom suspension setup. Additionally, this was made absolutely necessary in my opinion as I had also decided to go with a custom-adapted front bumper setup and new Warn winch, all of which would add over 200 lbs to the front of my vehicle.
After all my research, here is what I have finalized on:
- BDS 2" body lift
- Front - FabTech Dirt Logic 2.5 adjustable coilovers
- Rear - SkyJacker lift coils + FabTech DirtLogic 2.25 shocks
- Hotchkis rear anti-sway bar and poly bushings + front poly bushings
- JKS front and rear anti-sway bar links that disconnect
Lets get the easier stuff out of the way first.
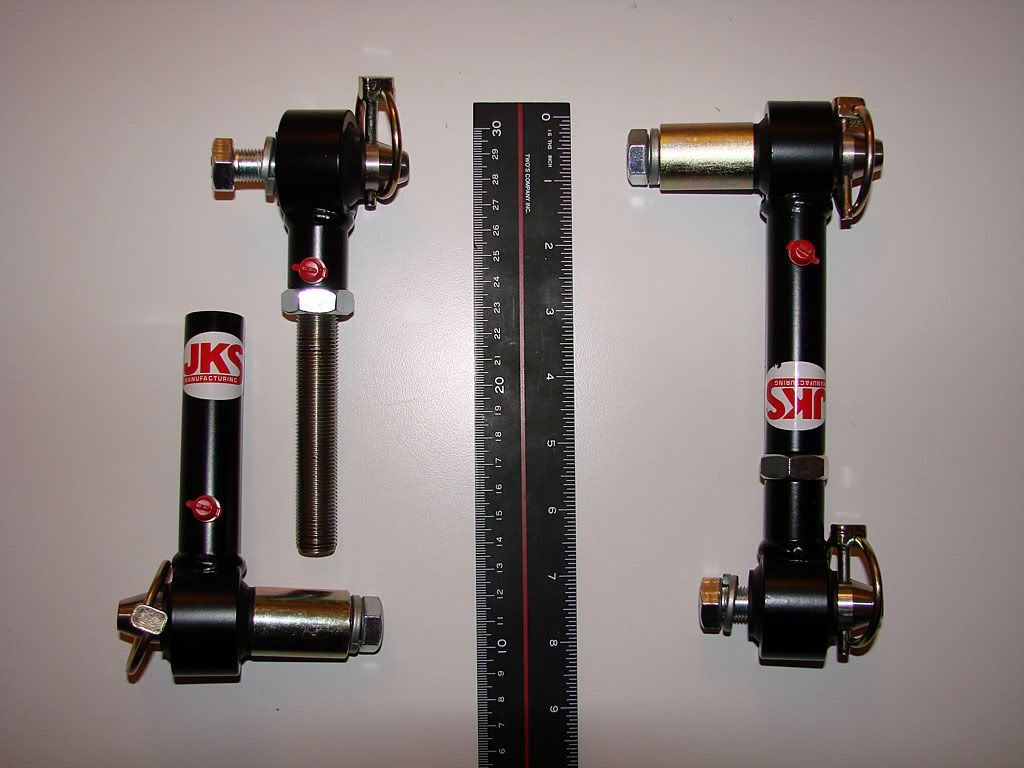
JKS front and rear anti-sway bar links that disconnect
Why go with disconnectable links when our stock articulation is not great to begin with, specifically the front? Well it was not all about being able to disconnect.
The two model numbers that I guessed would best suit my application were 3100 (shorter for front) and 3104 (longer for rear). I ended up not having to use the spacers, but will actually use the spacers in another area, just turned out lucky in that respect.
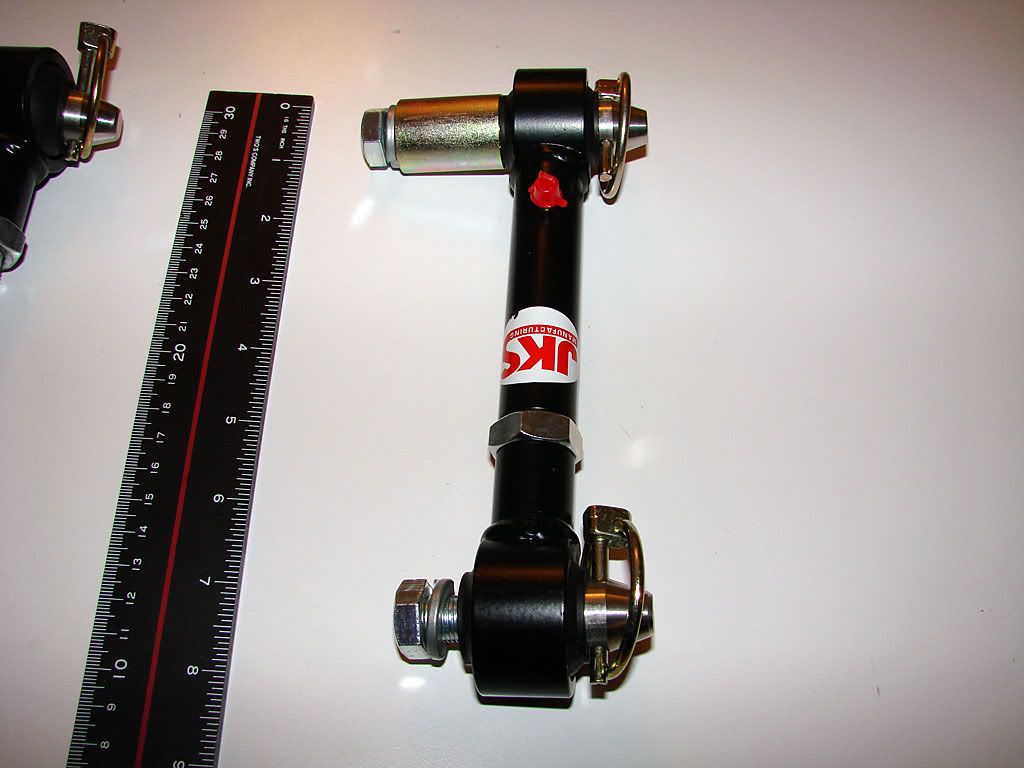
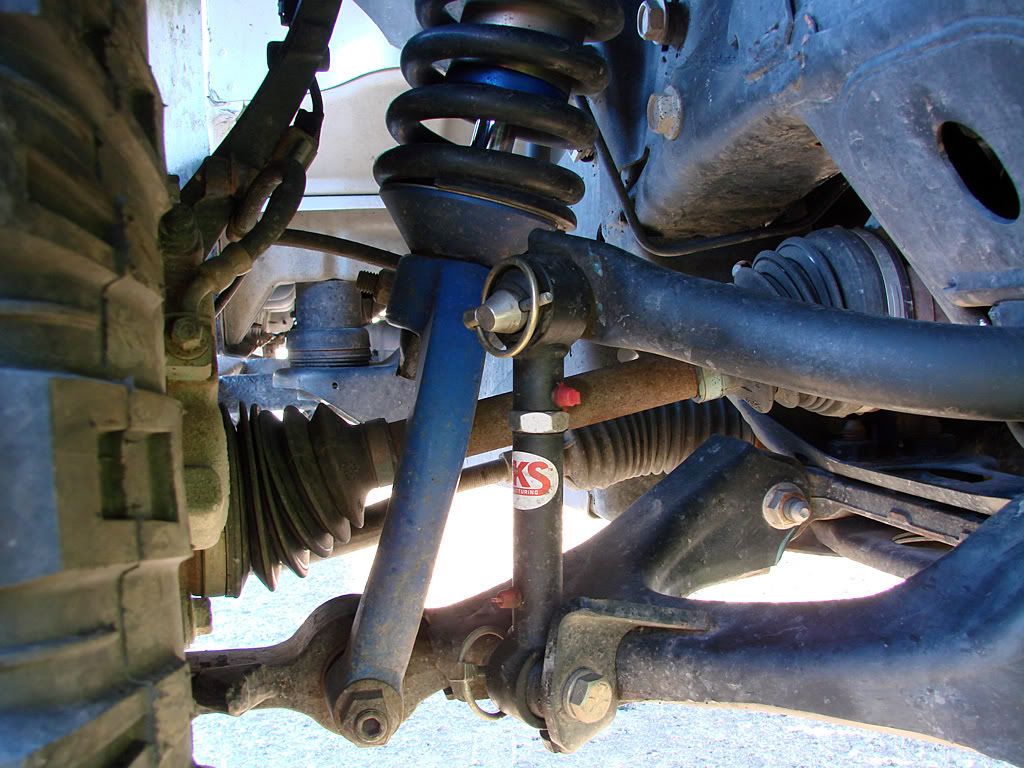
The mounting ended up being straight-forward in the front, but not in the rear. The angles of the frame mounting points and anti-sway bar holes in the front allow for the 3100 to be mounted with no modifications to anything. The rear is a different story because of 2 factors.
- The frame mounting point and hole is on a strange angle, and no matter what, when the mounting post is attached, it is on too much of an angle vertically to allow the link to be slipped on - the bushing just does not rotate enough.
- The brake line is right in the way at the frame mounting location. Even though the link could be slipped onto the post (if it were at the correct angle), each time that was done the brake line would have to be moved out of the way, and too much of that could definitely cause problems down the road.
So what my fab guy did was to bolt and weld an extension off of the mounting point and frame. This brings the mounting point down and allows for the post to be attached at a perfect angle and as a result, the 3104 ends up being perfectly vertical.
Here are a couple of pictures of the front and rear:


No comments:
Post a Comment