Rear - SkyJacker lift coils + FabTech DirtLogic 2.25 shocks
Ever since I picked up FabTech's catalog at National4WD, I was totally impressed with their products. All their stuff looks like it should be on Baja race trucks, and let me tell you, after many kms I can attest that it performs like it is.
The only problem I encountered is that since their stuff is so specialized, it ended up being really difficult to nail down a supplier. National4WD ended up not carrying the line in stock. They could get special orders, but even that proved to be problematic. Luckily North Shore Offroad in Vancouver filled in nicely, and in fact had a line to their technical department which helped out by providing some measurements on the front coilovers, but more on that later.
But first I should talk about the rear springs. As I was not going to go with the BDS suspension lift kit this time (FabTech front coilovers instead), I was not going to have the 2" spacers available from BDS.
The two options I was looking into were:
a) Spacers from another source
b) Replacement springs
I thought about trying to get the Japanese rear springs, but ultimately ended up going with something more local in the form of SkyJacker lift springs for the Tahoe/Yukon/Suburban line. SkyJacker sells 2 versions for all these models, the C25R which give 2.5" of lift and the C40R which give 6" of lift.
This decision was a bit of a chance on my part as I did not have any locally to measure. I did not know what their full outside diameter was, what was the inside diameter at the mounting points, and what their actual length was. All I had was a picture from an online source where I could see that their top and bottom ends looked similar to ours.
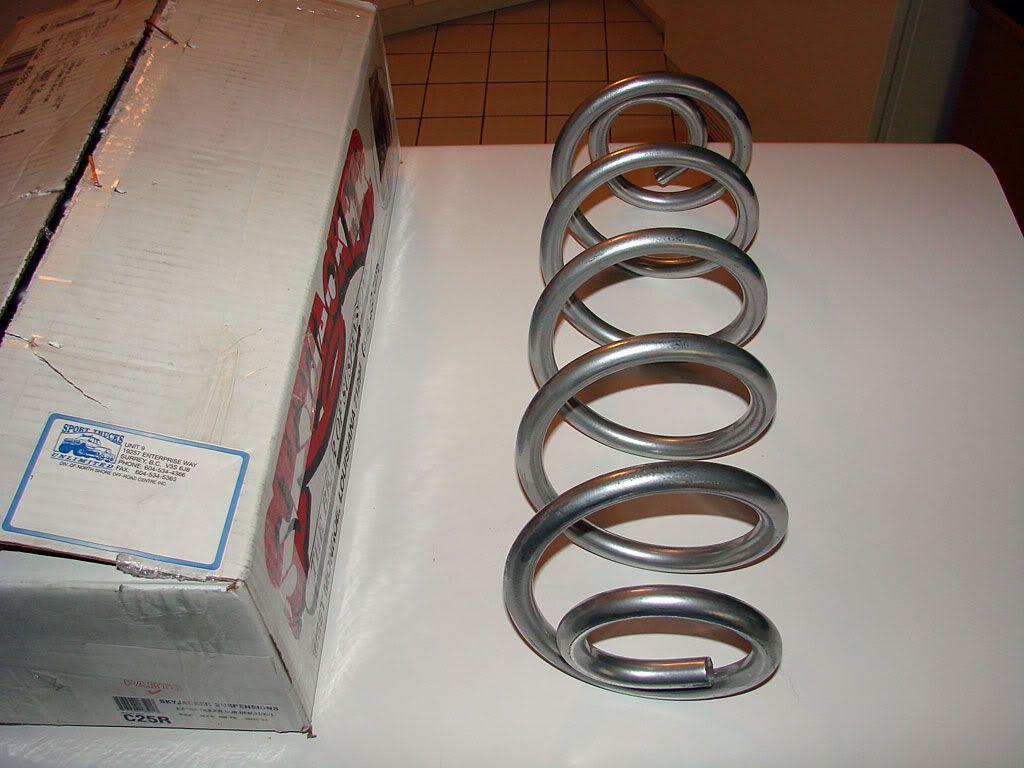
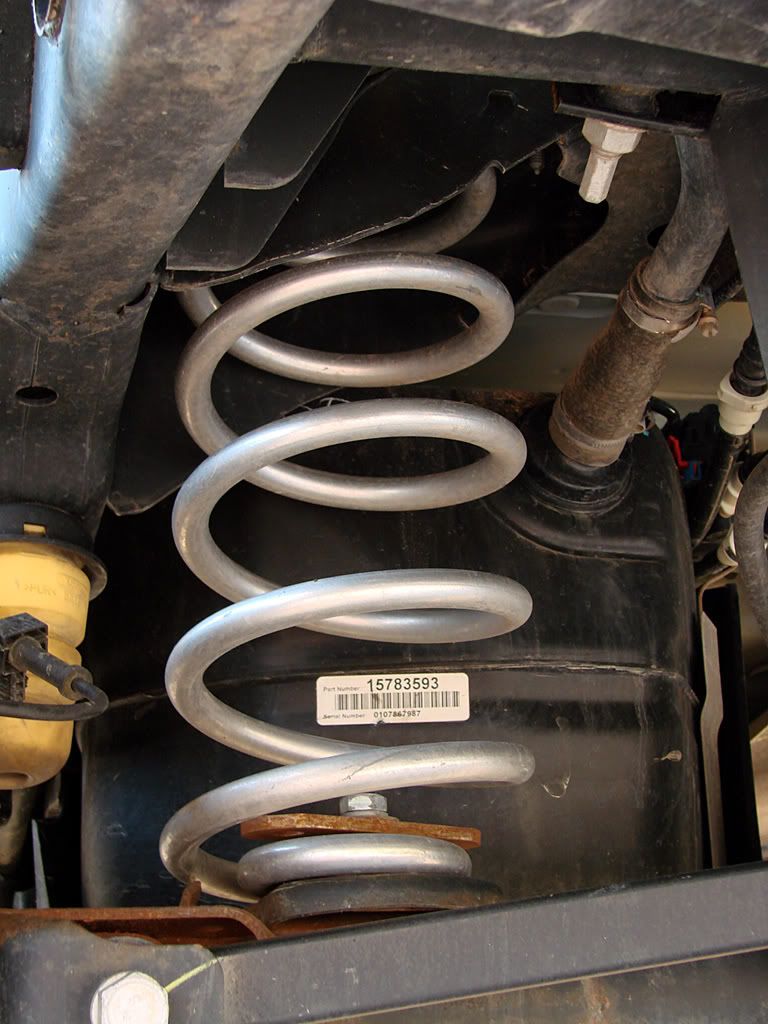
The springs are a bit larger in outside diameter than ours, but ultimately this does not pose a problem. I was worried that they may rub against the rear of our gas tank, but they don't. They also have a greater spring rate, so you get a significantly stiffer ride. This may not be a good thing to many of you, but when you load up the rear of the TrailVoy (including the roof rack) for an expedition, it is a huge benefit. I went over many significant drops on the trails in Colorado, and the springs held up perfectly, no bottoming out, nothing. I could have probably loaded up 500 more lbs in the back without any problems.
The one thing that my fab guy did was to clamp the bottom of the spring to the spring cup. He said it was not absolutely necessary but was done for added safety.

- 2.25” OD Steel body
- 2.0” OD Billet Aluminum Piston
- 7/8” Hardened Chrome Piston Rod
- Urethane mounting ends
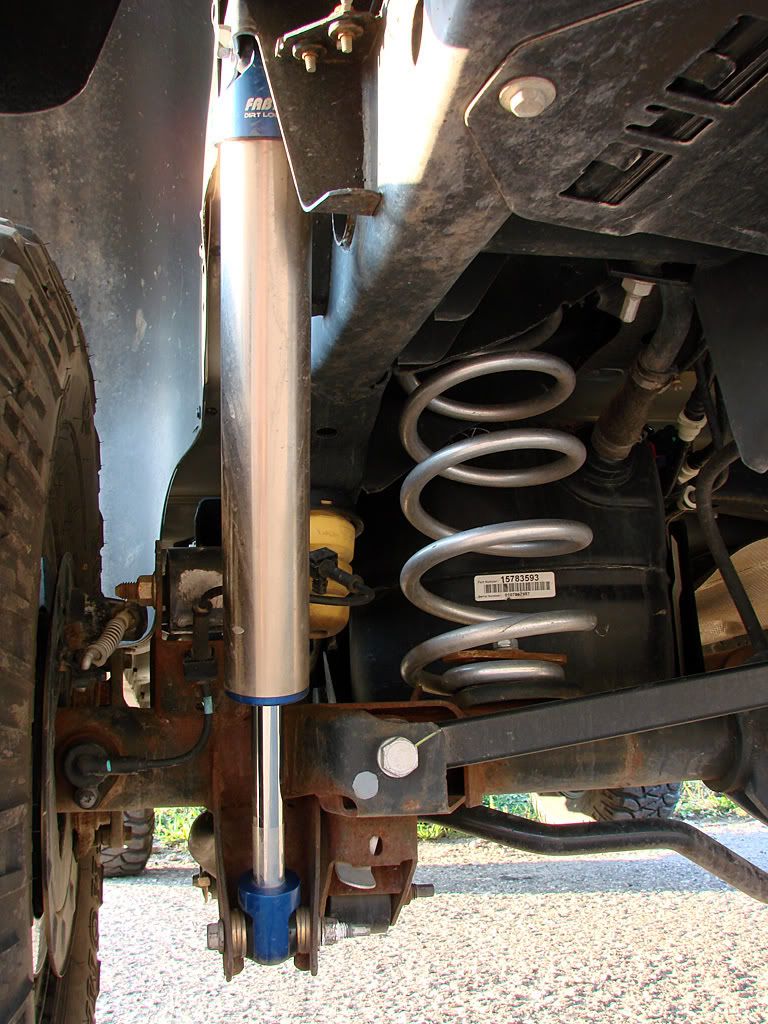
As you can see, their installation is a piece of cake. They basically fit in the stock mounting locations. There are a couple of points to make though:
- They need to be mounted in the reverse direction of the stock shocks, i.e. the body at the top, piston rod at the bottom. This is because the billet body cap that holds the mounting ring is too large to fit in the bottom mount.
- Spacers are needed at the bottom mount. Currently, I am using grade 8 washers but will be replacing them with the spacers from the JKS anti-sway bar end links, they happen to be the perfect inside diameter, and when cut in half, the perfect width.
I'll be putting in the spacers soon, along with some FabTech boots I bought to protect the piston rods from stones, winter, etc.
Overall, I am ecstatic with the rear set up. It performed flawlessly on those mountain and canyon trails in Colorado.


No comments:
Post a Comment