

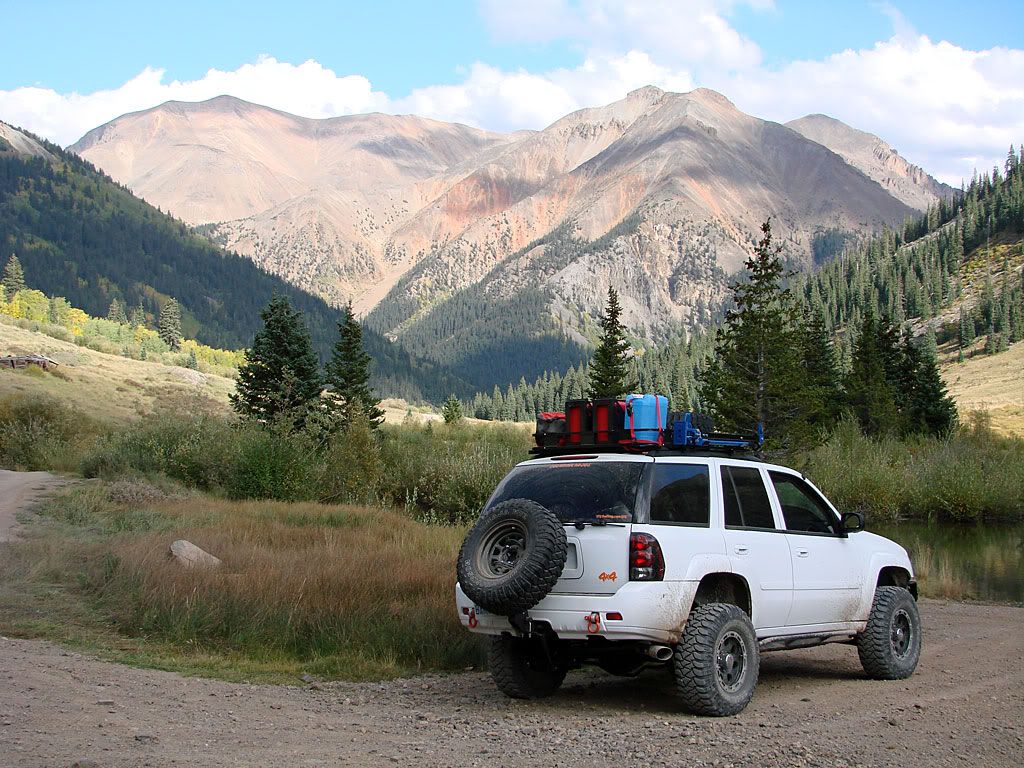
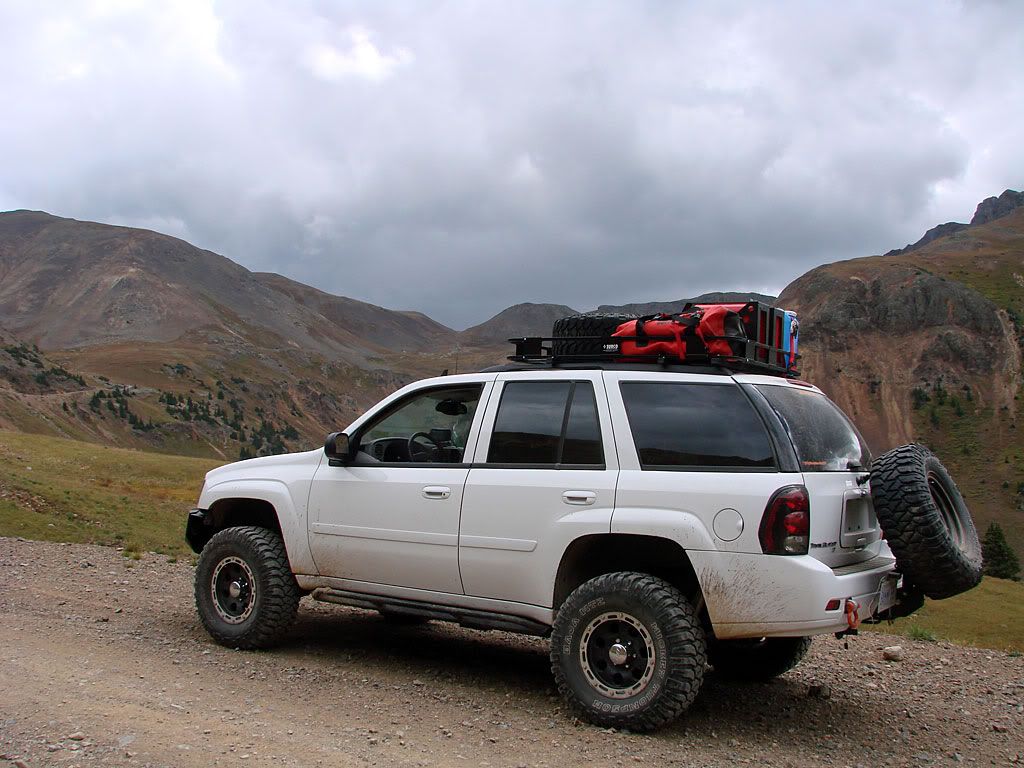
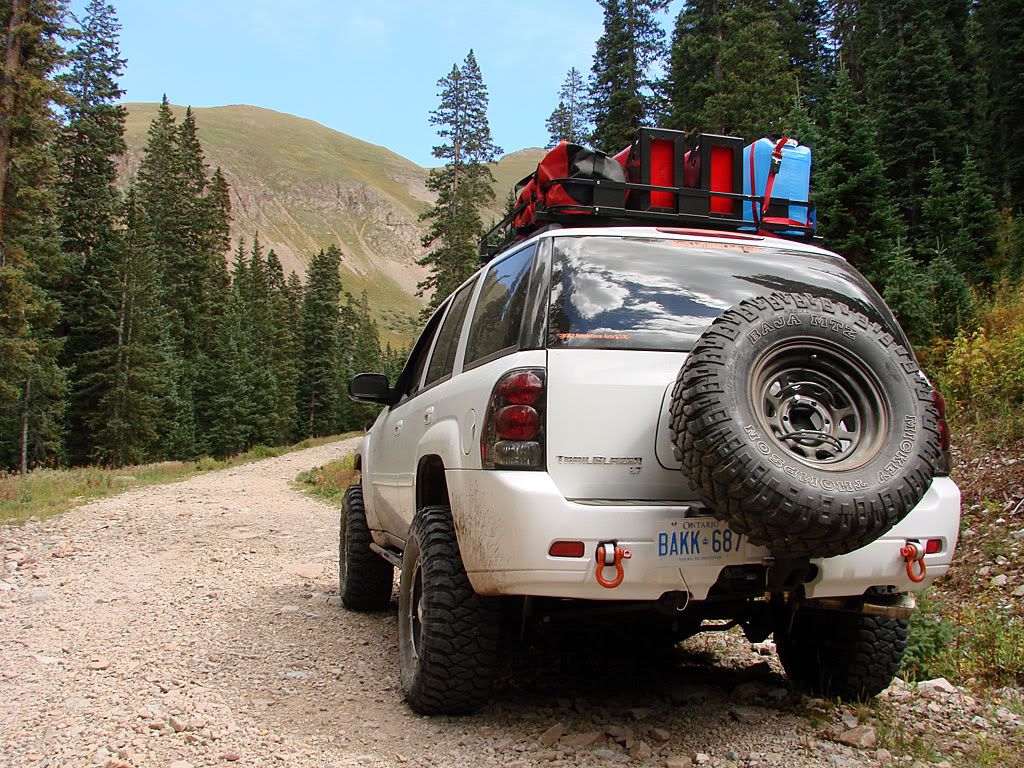
- I drilled 2 holes into the part that slides into the hitch receiver to adjust how far out the whole assembly sits. The tire needs to be out far enough to clear the rear wiper. As luck would have it, the tire sits low enough so that I can open the top window and access the rear without lowering the Curt. This is OK to grab lighter things from the back, but for anything heavier such as coolers, or large suitcases, the spare needs to be lowered.
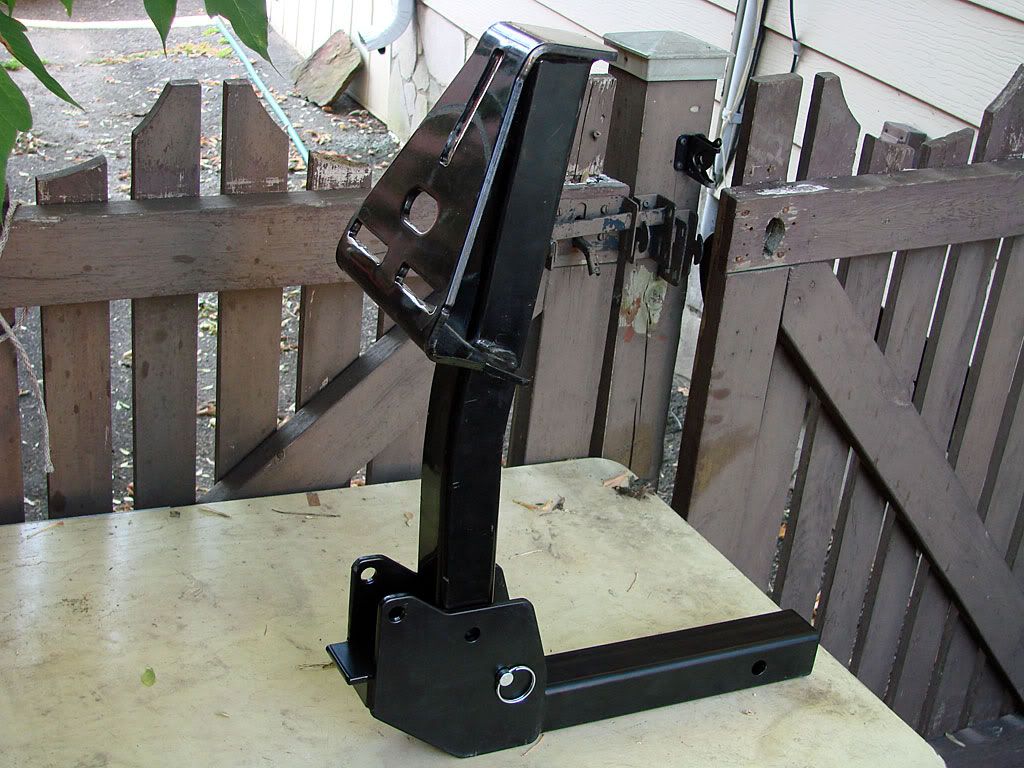
- I had 2 pieces of 1/4" thick 2" wide square tube cut and bolted them to the face plate of the Curt. This was needed to push the wheel outwards and allow the tire to clear the back of the Surco assembly. I used grade 8 bolts for this and ultimately had them welded on as well so that I do not need to fumble with the bolts when putting the wheel on and taking it off.
- And finally, I had to cut about 1/2 an inch off the metal tab that sticks out at the back of the Surco. The tire was not completely clearing this when I would raise and lower the Curt.
All exposed metal was sprayed with black anti-rust paint. So far I have not had to grease anything but that is yet to be seen this winter. I think I will try some graphite lubricant spray first and see how that goes. I have used it before in hitch locks and it works great. Speaking of hitch locks, I ended up using two: - one at the actual hitch receiver - and one to replace the pin that holds the Curt upright (didn't want some yahoo in a parking lot pulling it to see what would happen) In discussions with The Roadie, he warned me about the Curt rattling inside the hitch receiver, and that all products he tried did not do anything (except for his TireGate which has a real solid system to clamp it). I ended up trying the clamp from FastTrackRacks (see picture above) as I was purchasing the Surco from them as well. Note: the clamp I got looks a little different from their picture. The clamp uses a U-Bolt that is almost exactly 2 inches inside width so fits very snugly over the hitch receiver. The metal piece then gets tightened up against the hitch reciever on one side and the Surco on the other. This is a very good product and locks everything into place extremely well. I have had absolutely no rattling since it was installed. Very happy with this product. So here are some pictures of the whole assembly in action. Unfortunately I don't have any with the rear window open or the spare down and the hatch up. But I will try to take some this afternoon and post them later.


No comments:
Post a Comment