I liked the Yakima LoadWarrior and its line of accessories, however, after doing some research, I found that it did not have a very good weight rating. It does have a spare tire mount but I was also looking to put two 20 L gas cans up there along with a large water container.
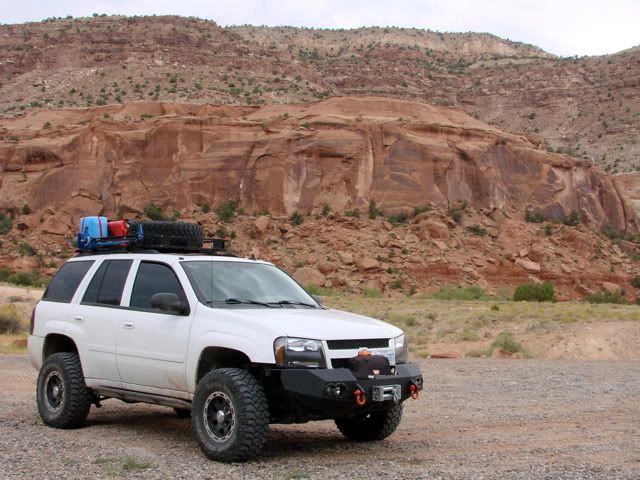
The Roadie steered me towards the Surco Safari Rack. It has a 300 lb weight rating, is made out of aluminium (won't rust, lighter), and was cheaper than the Yakima (and others).
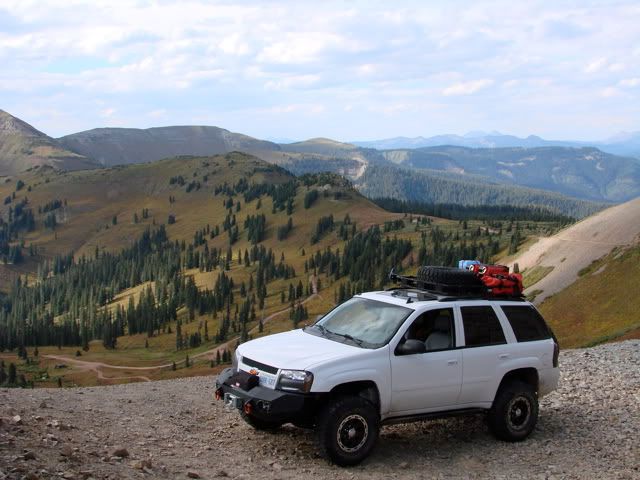
Unfortunately I ran out of time last year and could not finish it like I wanted. Here is what it looked like on the trip:


Tip #2 - Reinforce the 4 interlocking pieces over and above the screws provided to lock the pieces together. The Roadie indicated that his started to rattle something fierce so he pop-riveted the pieces together. What I did after assembly is to drill holes through both pieces where one slides into the other one. I then used longer stainless bolts and lock nuts to tighten everything up (8 in total).


No comments:
Post a Comment