X88 expeditions - Documenting and sharing overland travels, adventures, and expeditions

November 1, 2009

Lighting - Wiring It Up

OK, time to update this topic ... finally.

I was embarrassed last year, particularly at Carlisle that I went the whole year without wiring up my lights. It was mainly because I wanted to do it properly with no shortcuts so I procrastinated. Well this year I still didn't get it done for TECORE/MORA but there was no way I was going to Carlisle and then my Big Western Trip without getting it done!

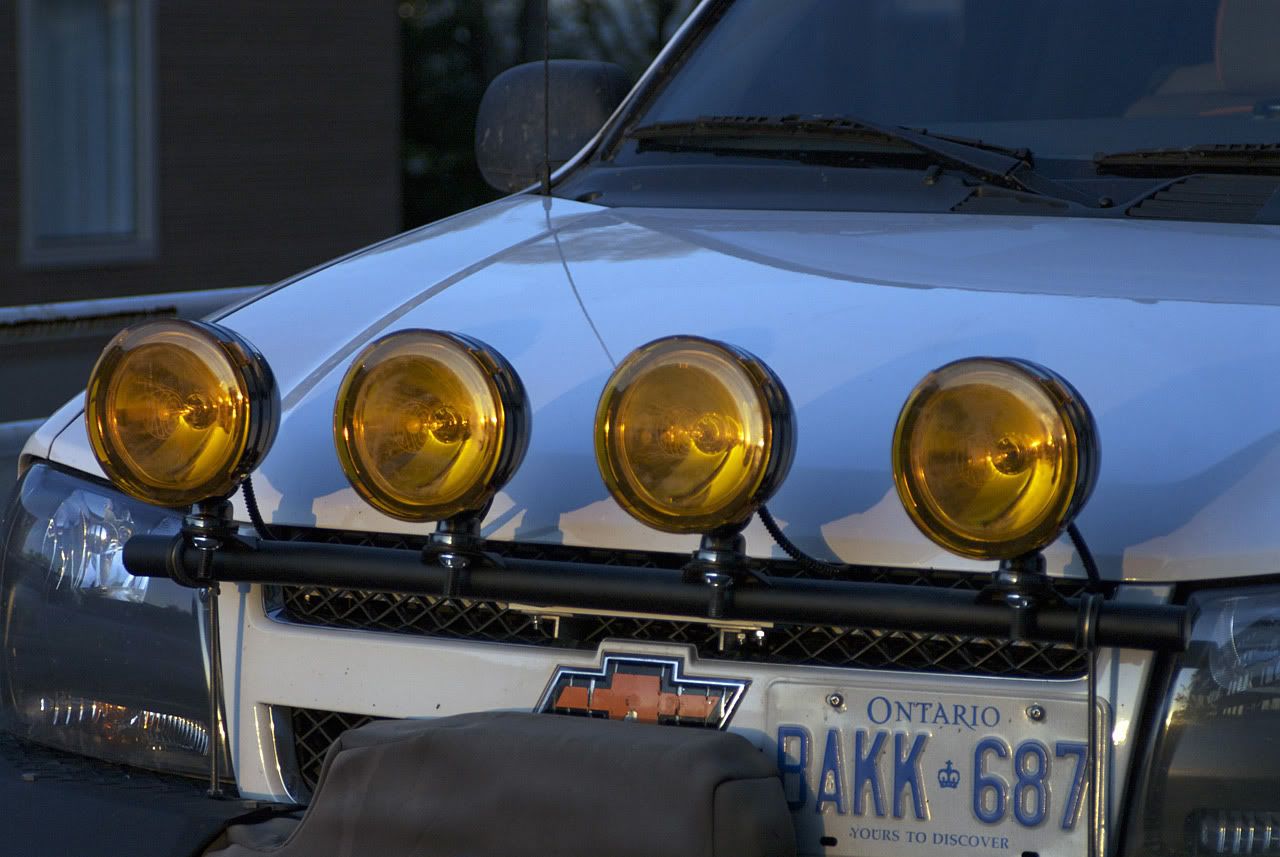
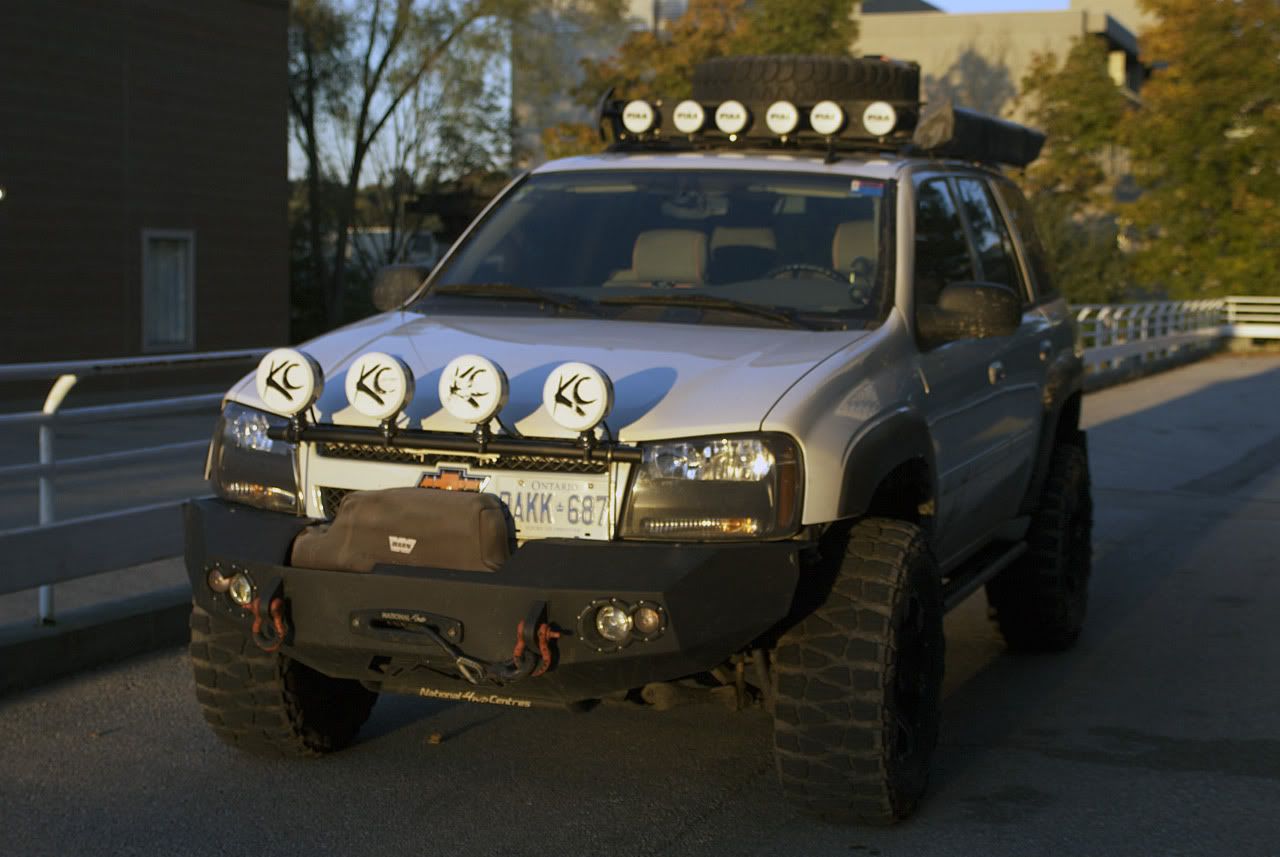
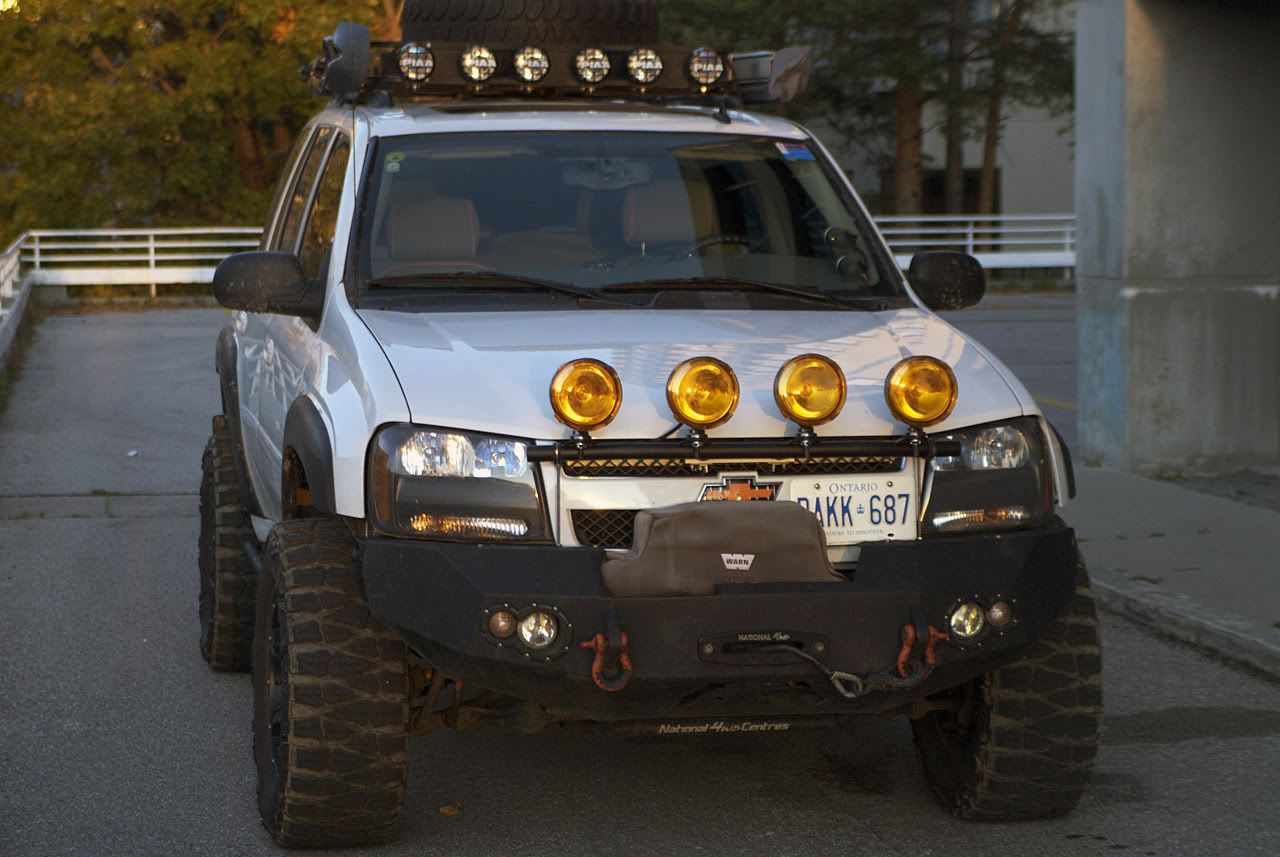
First some catch-up pictures of the lighting with the covers on (got to stay legal) and off. Sorry about the focus, still learning the new camera.

If you notice on the front light bar close-up, you can see my solution for to stabilize the bar. In general the bar was OK except on very bumpy trails and on very windy days. It would bounce around quite a bit. My solution was to get some wire clamps that were 1.5" inside diameter. No easy task as they are very difficult to find, particularly ones that have an some sort of padding on the inside. Luckily James Downing pointed me to an amazing online resource - McMaster-Carr - with over 480,000 products, you can't go wrong.

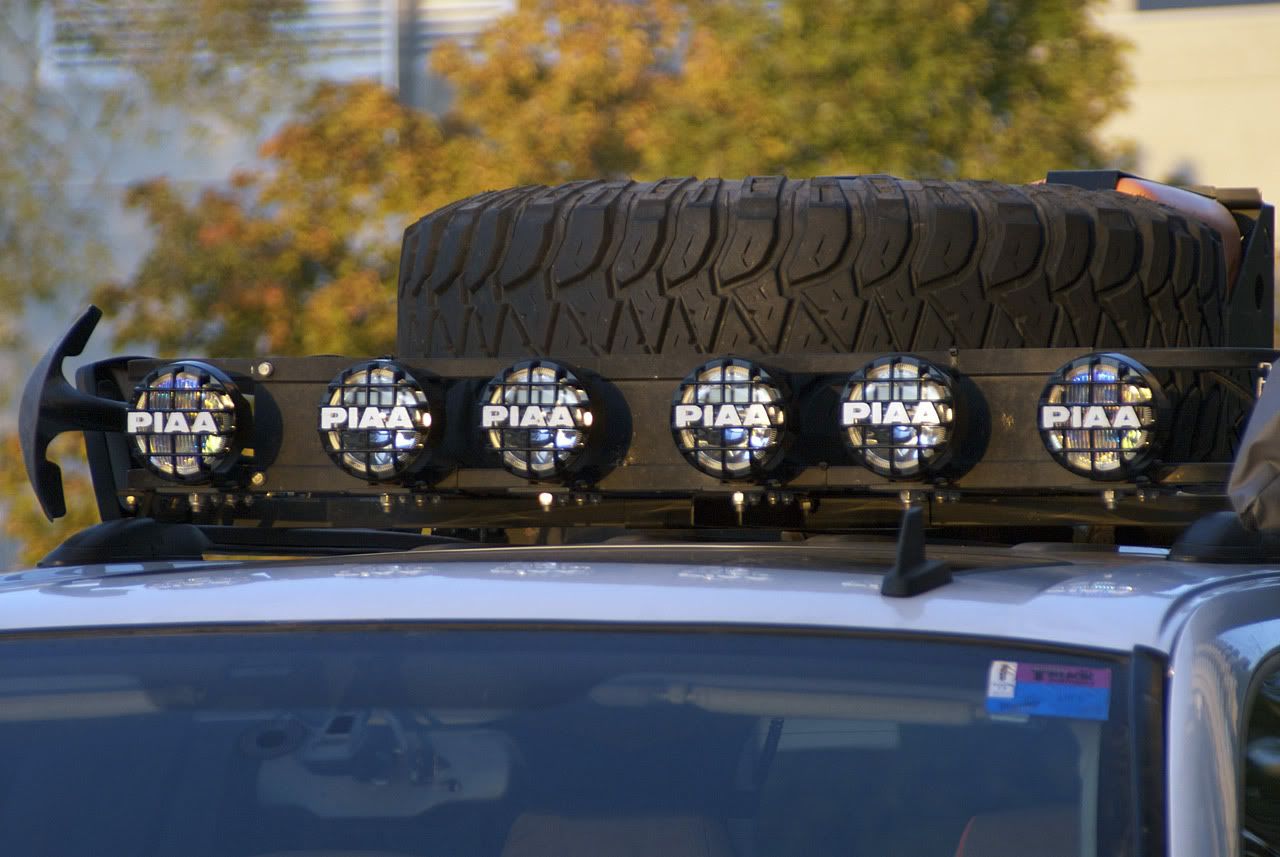
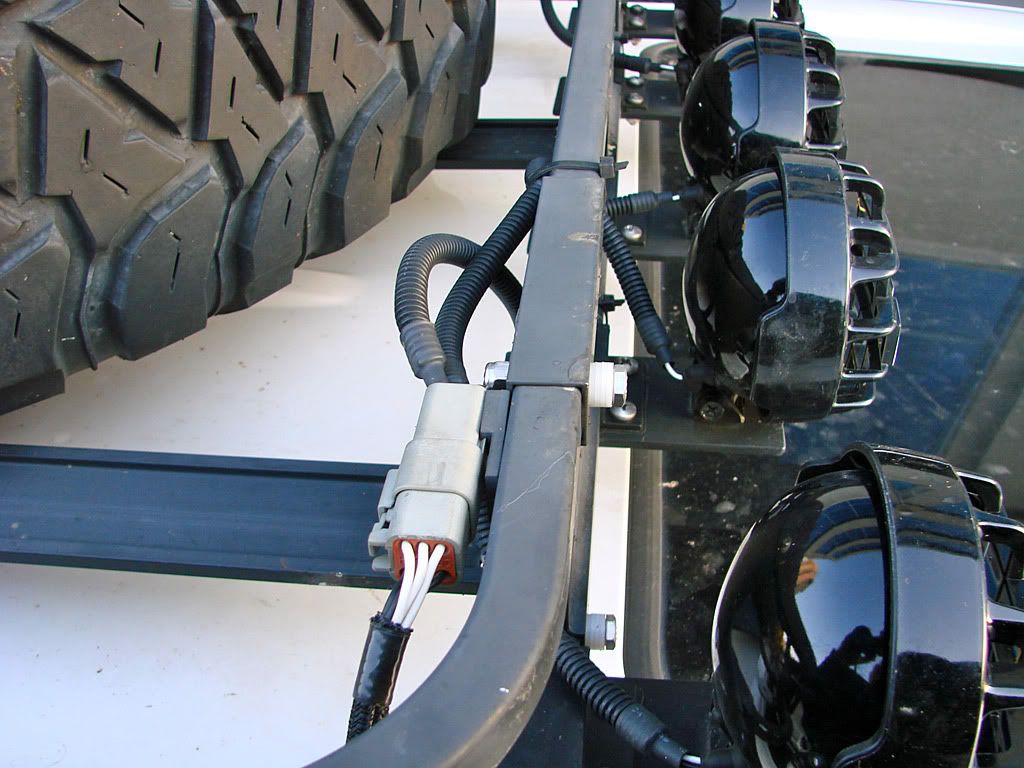
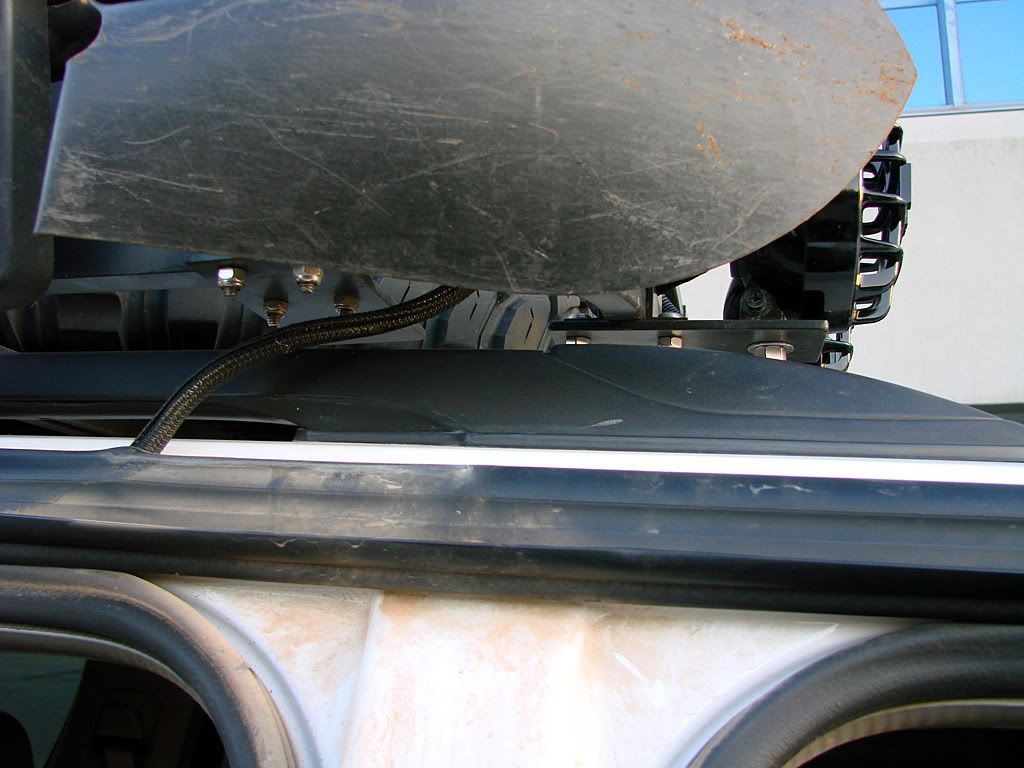
Here is the page on their catalog, I ordered 4 different kinds to make sure one of them would work out. I bolted the clamp to one end of a threaded stainless steel rod, and the other end to holes drilled into my aluminum filler plates between the bumper and body. After driving around with this set up for a while, I am happy to report that the light bar is very sturdy.

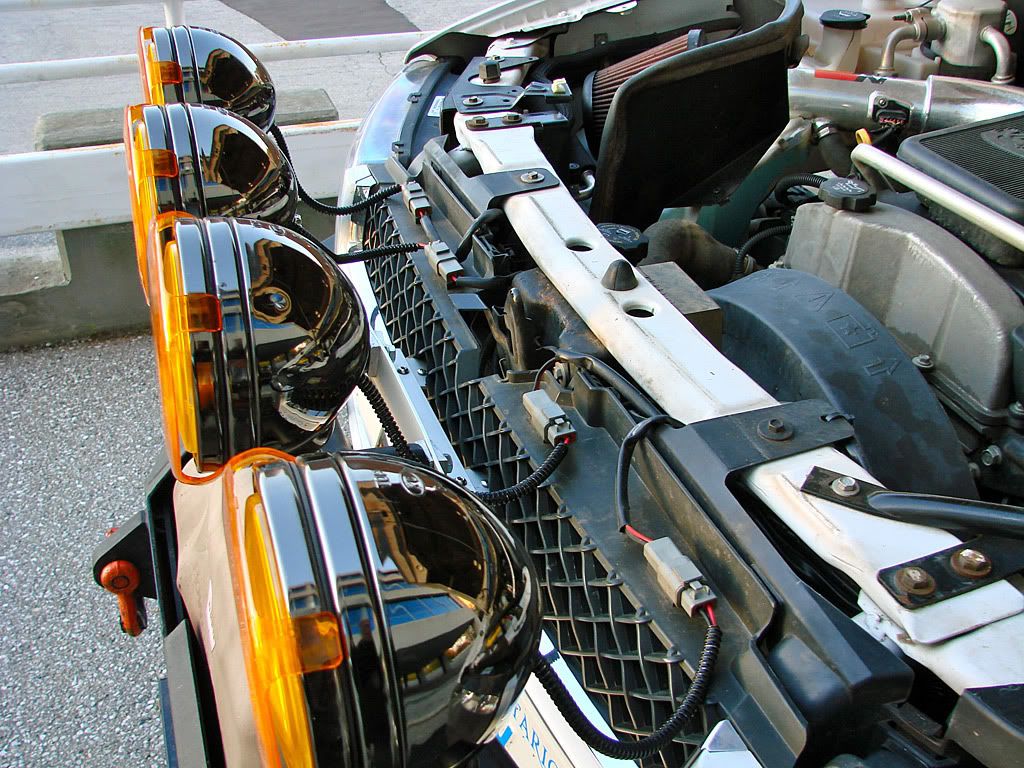
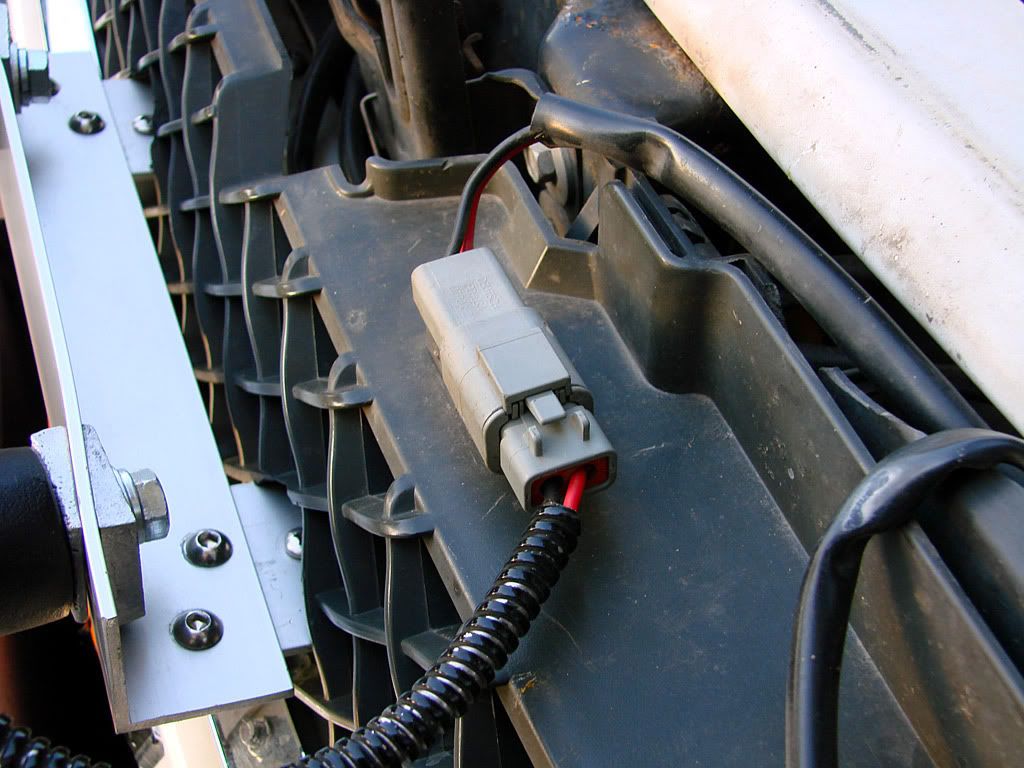
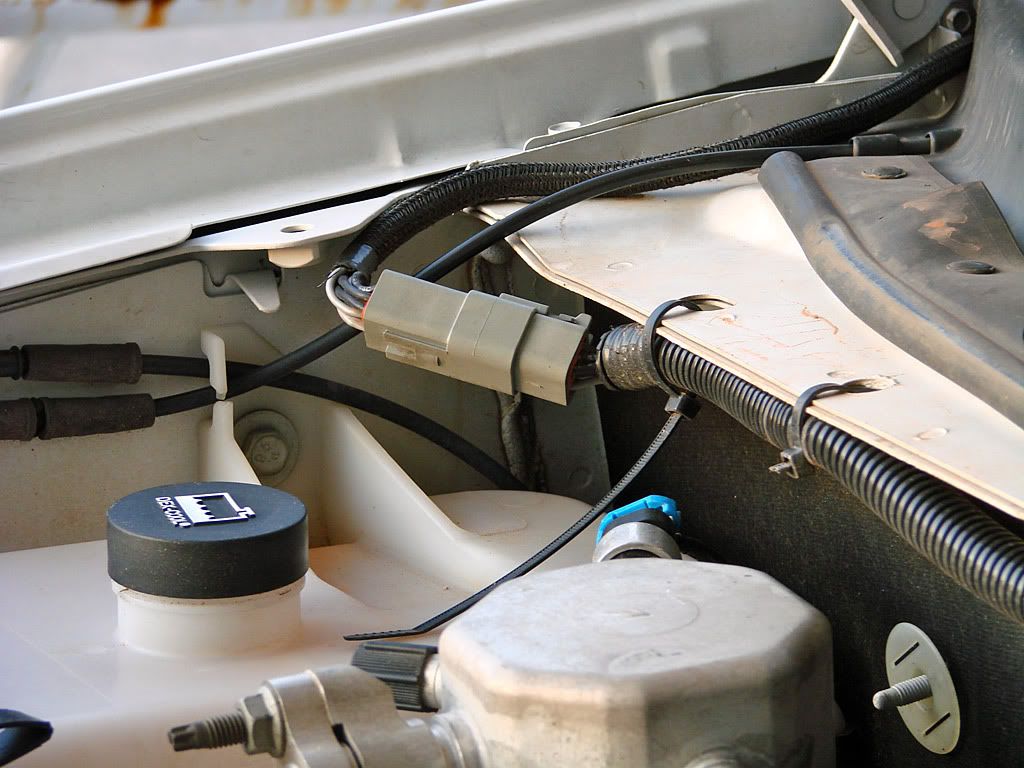
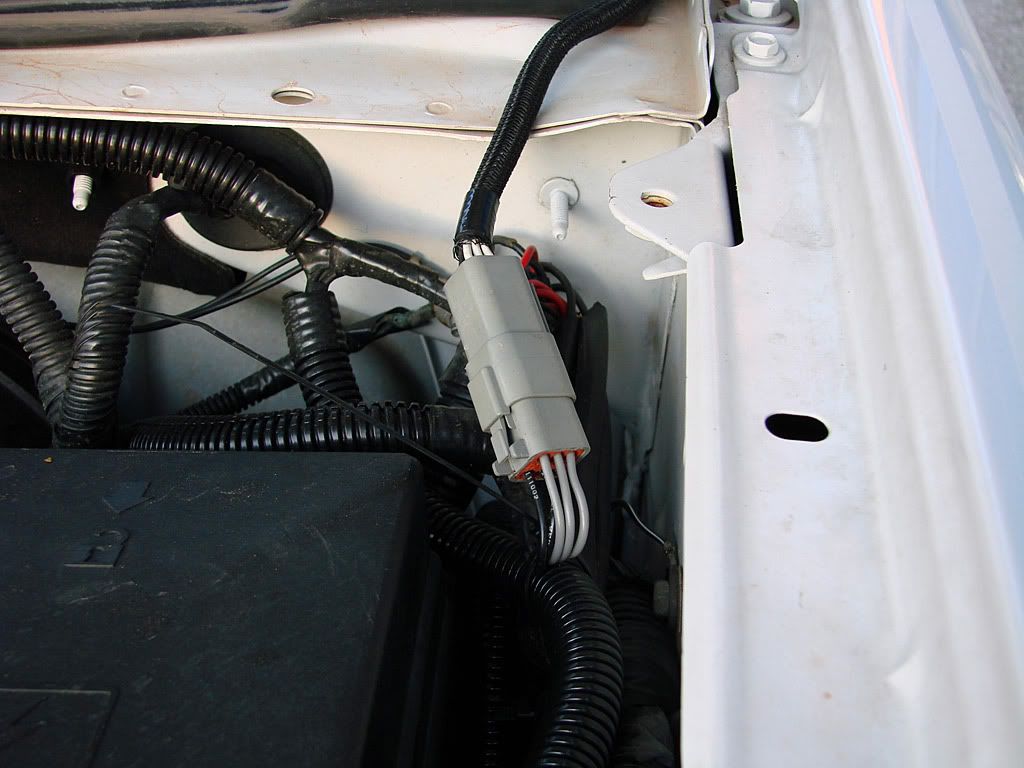
Next for the wiring. The light bar was actually the easiest as I found a great place to permanently attach the Deutsch connectors - right on top of the plastic grille. When the hood is closed, you can't even see them. The negative lead goes to a body post in the engine bay while the positive goes through the firewall and back to where I make the battery connection.

The roof rack wiring was more difficult because I didn't want to drill through my roof and also there are more leads - 12 of them. The solution actually came from my great fabricator at National4WD who suggested I try running the wires behind the door trim/seal and into the engine bay. Because I would need 6 wires per side, I had to find a wire loom that would be as small as possible and yet hold the 6 wires. For this I used a special type of braided loom that I happened to find in a car-parts store. It is much more compact than the corrugated plastic type.
So from the roof rack Deutsch connectors there is a removable section of 6 wires that has another Deutsch connector in the engine bay. When I remove the roof rack I also remove this section of wiring. Running this section behind the trim/seal has not presented any problems so far. Again, the negative leads go to the body post and the positive through the firewall.

No comments: